Appearance
Custom Source Overview
The Custom Sources feature is a powerful tool that gives you complete control over your reviews. It allows you to create your own "review platforms" right inside WP Social Ninja, moving beyond the limits of standard platforms like Google or Facebook.
With Custom Sources, you can:
- Manually add reviews one by one, including the reviewer's name, photo, and a source URL.
- Bulk-import hundreds of reviews from a CSV file.
- Export your custom reviews for backup.
- Collect new reviews with a Native Review Form or by connecting a Fluent Form.
- Brand your source with a custom logo and name (e.g., "Website Testimonials") to represent your own company or an external source.
How to Get Started
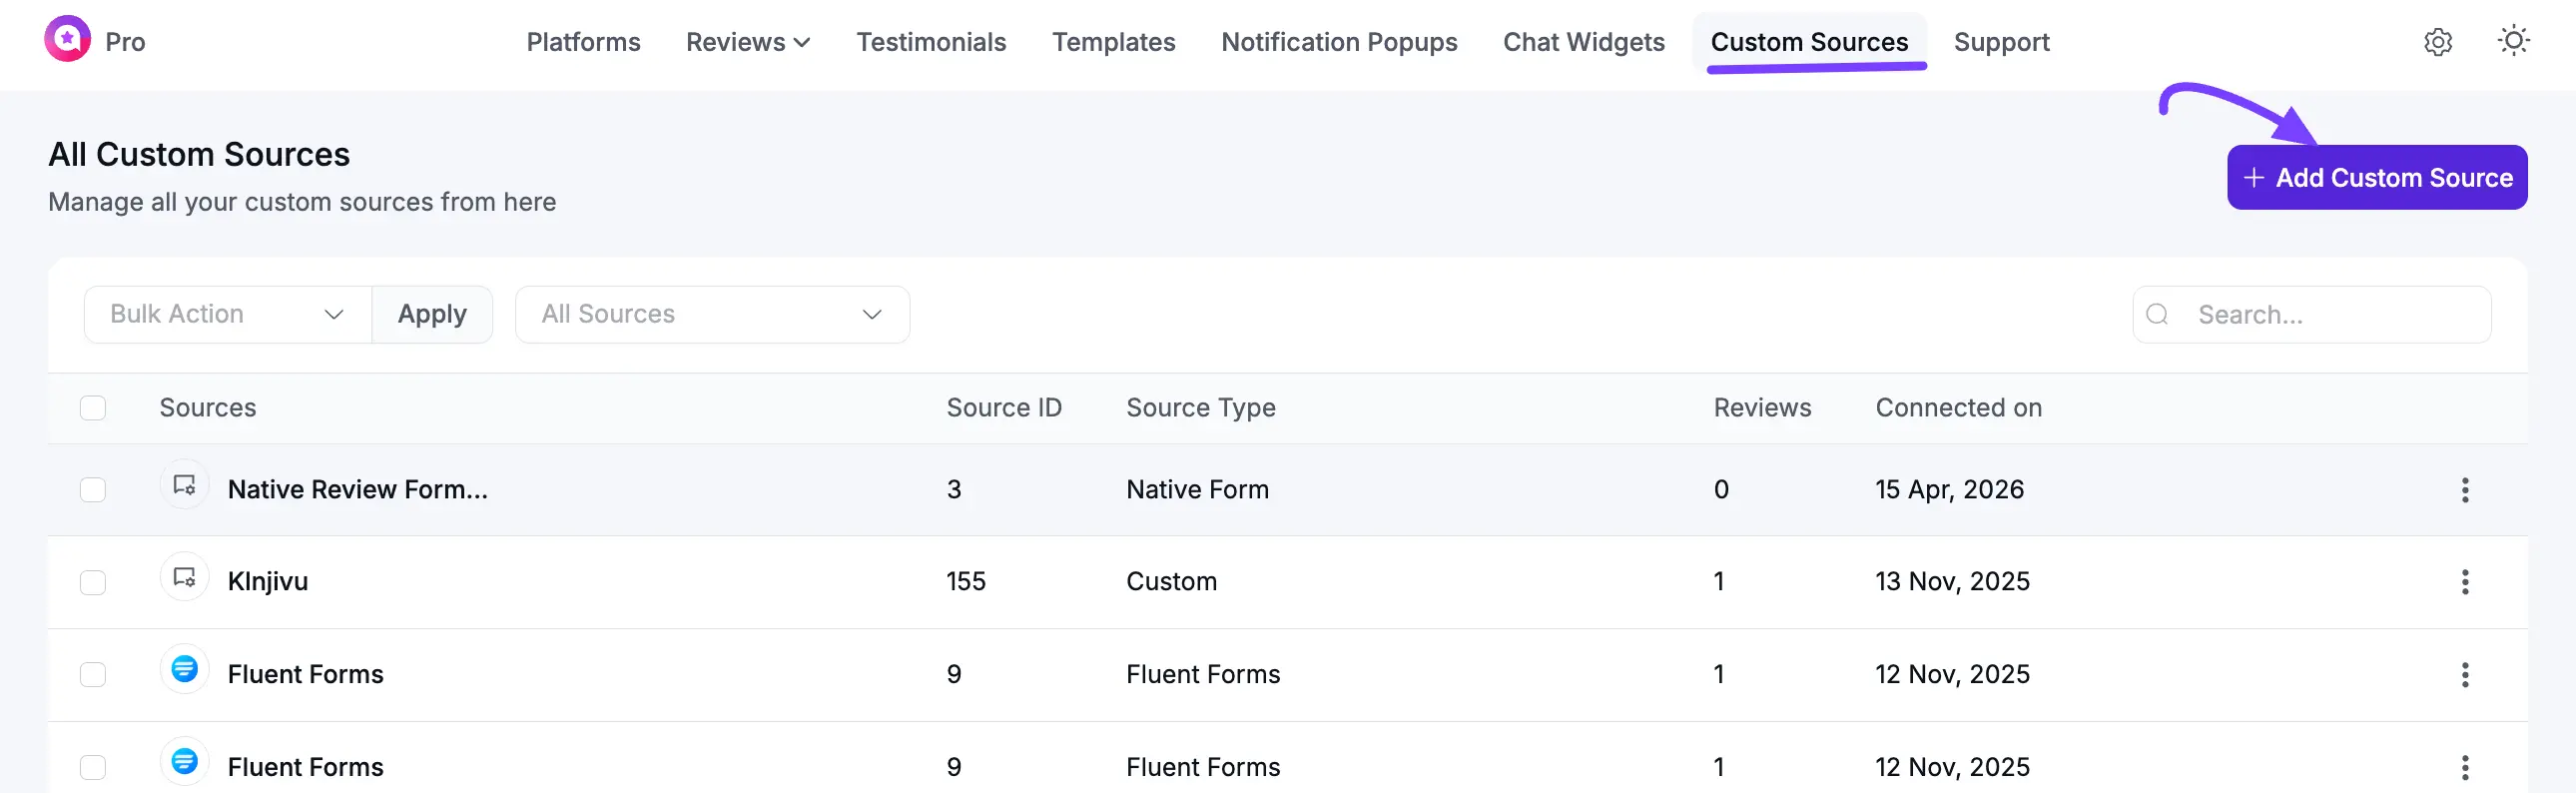
To begin, navigate to your WordPress dashboard and go to WP Social Ninja → Custom Sources.
If you don't have any sources yet, you'll see a blank page. Click the "+ Add Source" button to get started.
The First Big Choice: Custom or Fluent Forms or Native Forms
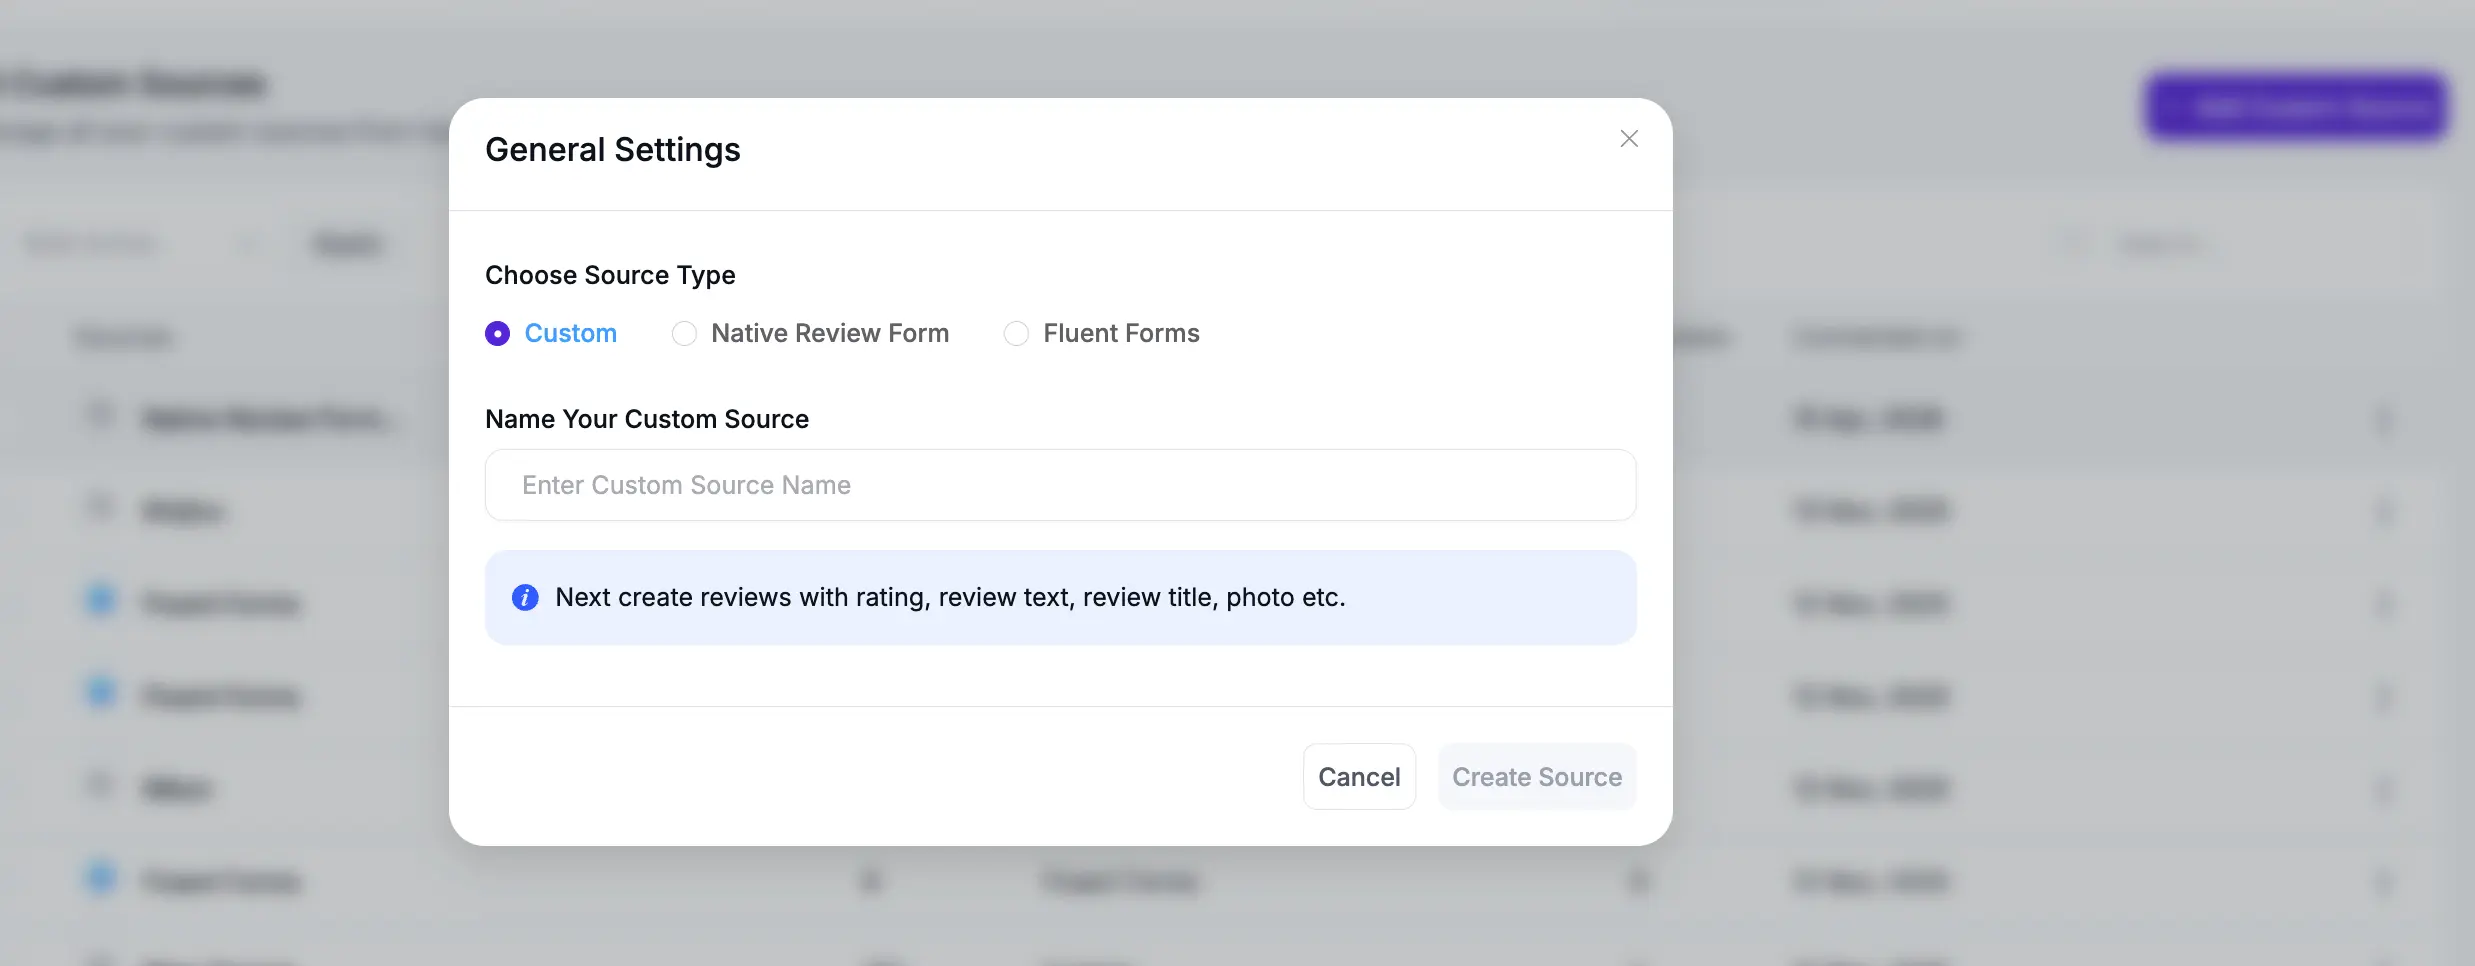
When adding a new source, the first important step is selecting the Source Type. This determines how your reviews will be collected or added. WP Social Ninja offers Custom, Native Review Form, and Fluent Forms options, and each serves a different purpose.
1. Custom
- What it is: Use this option to display reviews you already have. These might be reviews collected from another platform or gathered manually in the past.
- Use this if: You want to add reviews manually one by one or import them in bulk from a CSV file.
- Next Step: After selecting this option, you’ll see a dashboard where you can click + Add Custom Review to add reviews manually or Import to upload a CSV file.
- Read the full guide: How to Manually Add or Import Custom Reviews
2. Native Review Form
- What it is: This is the built-in way to collect new reviews directly on your website without needing any third-party plugins.
- Use this if: You want a simple, high-performance "Write a Review" form that allows users to submit ratings, text, and photos directly into your system.
- Next Step: Select your desired Review Form from the dropdown menu to link it to this source.
- Read the full guide: How to Collect Feedback with Native Review Forms
3. Fluent Forms
- What it is: Choose this option to collect new reviews directly from visitors on your website.
- Use this if: You want to create a “Write a Review” form using Fluent Forms. Once a visitor submits their review, it will automatically appear in your review source.
- Next Step: After selecting this option, you’ll be taken to a dashboard where you can connect your Fluent Form.
- Read the full guide: How to Collect Reviews with a Fluent Forms Custom Source
What Happens Next?
Once you create a source (using either method), it will now appear as a new, selectable platform in your Review Template Editor, right alongside Google, Facebook, and WooCommerce. You can then select, style, and display it anywhere on your site using its shortcode.