Appearance
Chat Widget Settings (General)
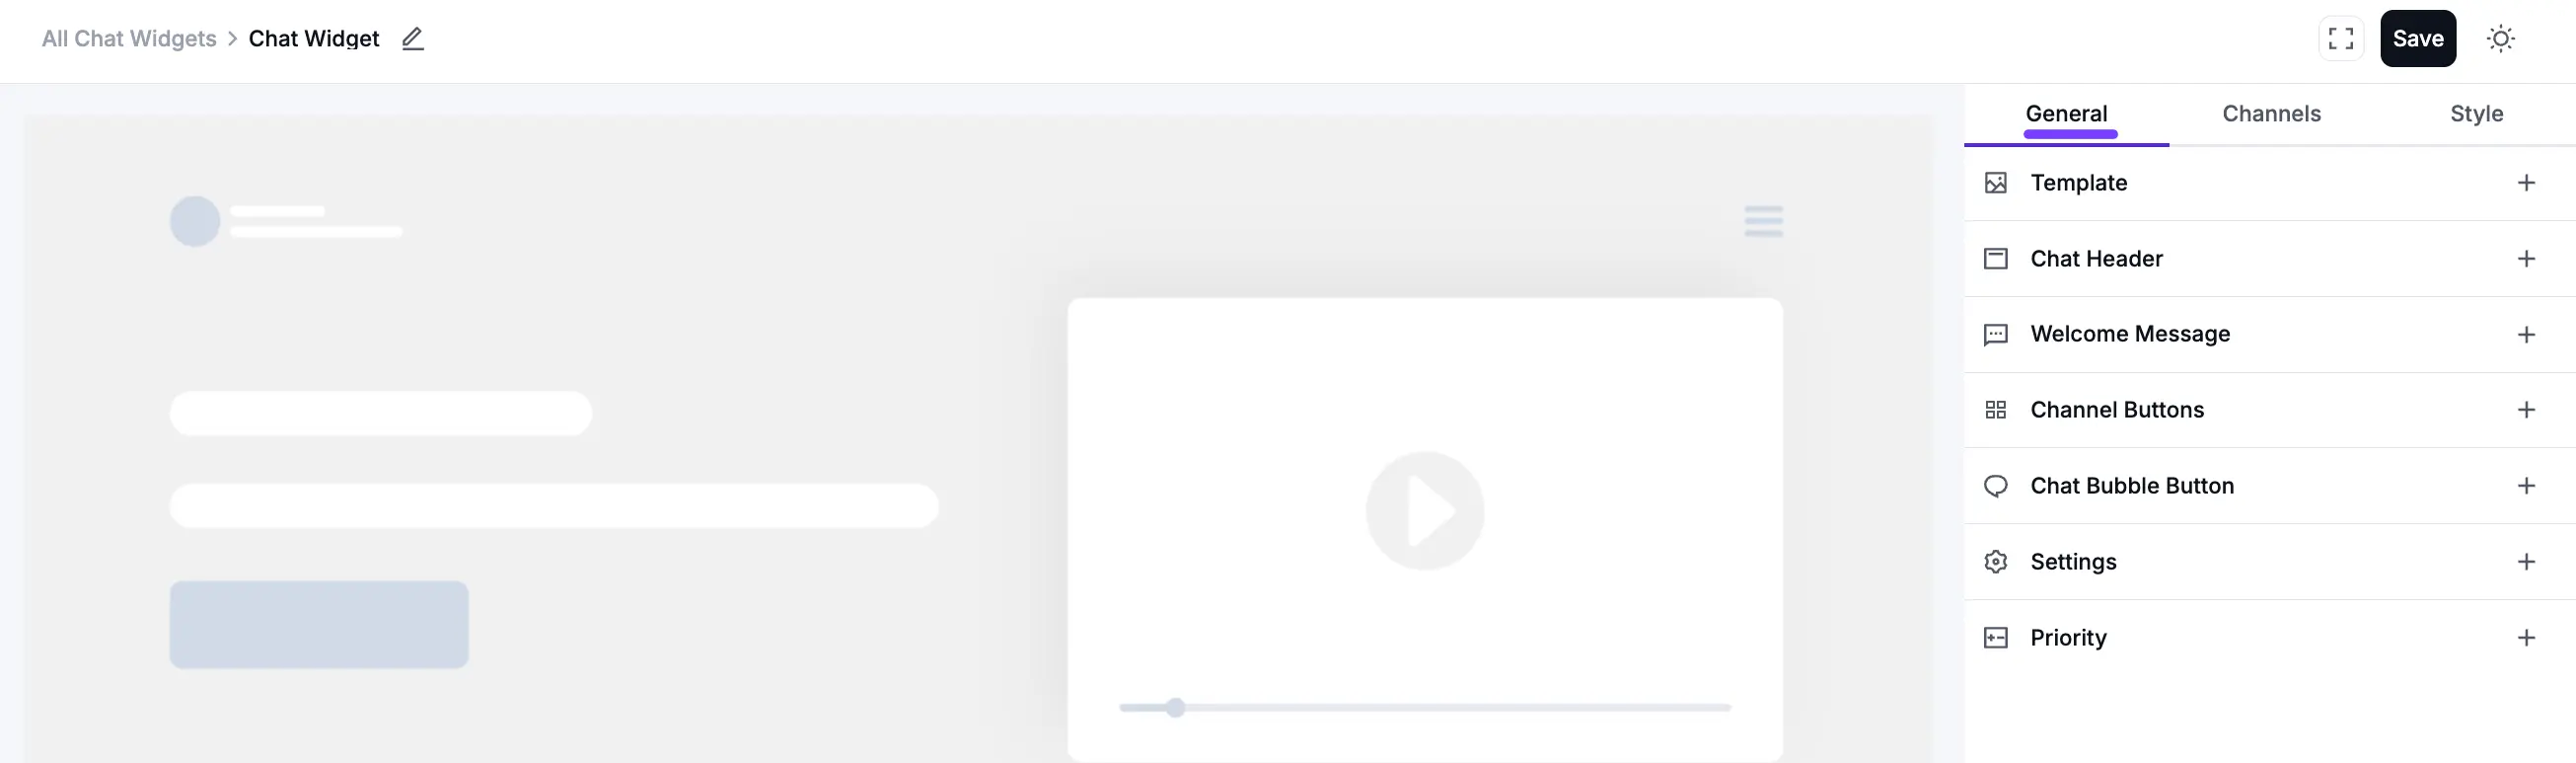
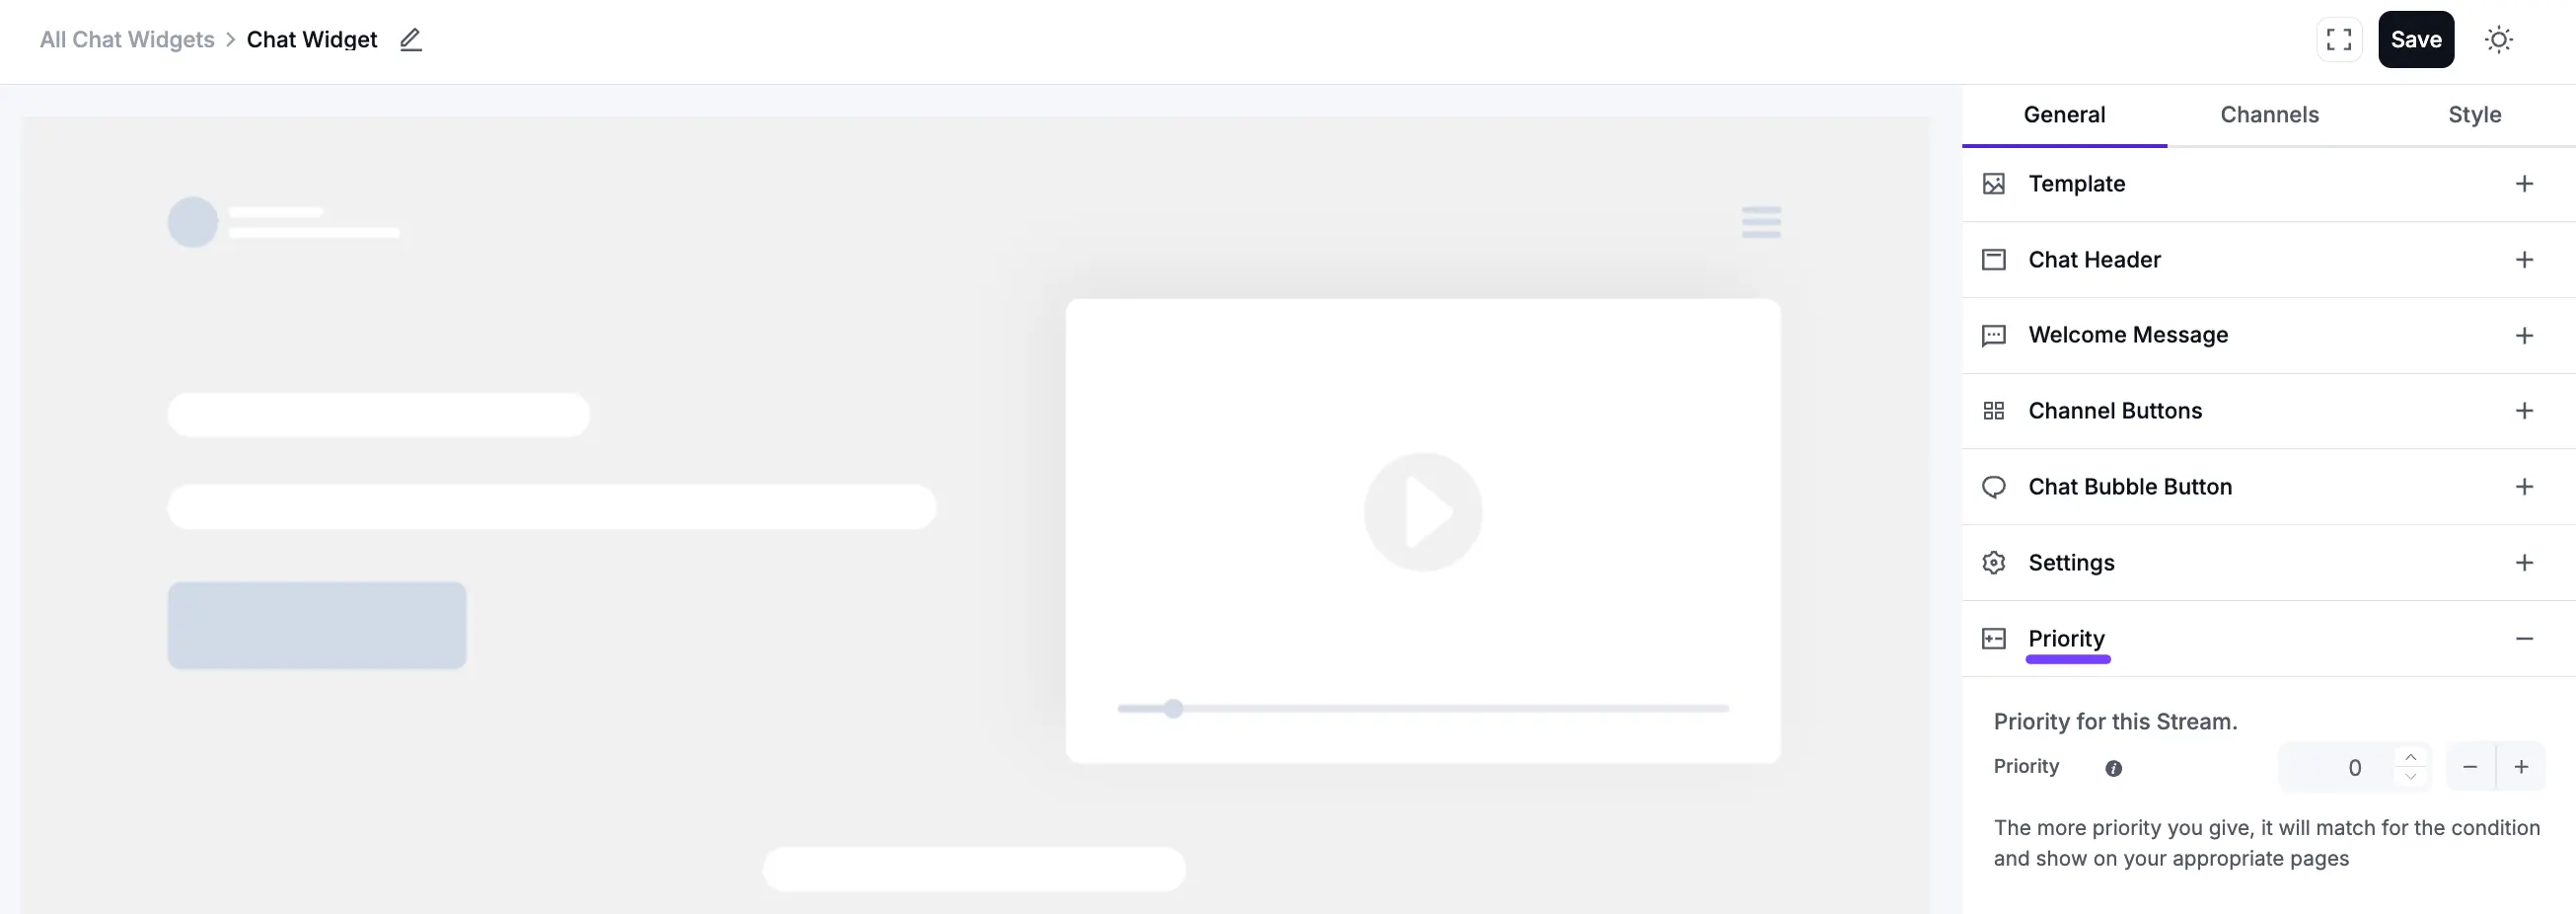
The General tab for your Chat Widget allows you to control the appearance, content, and display rules for your chat box. These settings are broken down into several sections.
Access the Chat widget settings
To access the chat widget settings from your website, go to the WP Social Ninja dashboard. Click on the Chat Widget from the top menu bar. Then, click any chat widget that you configure before.
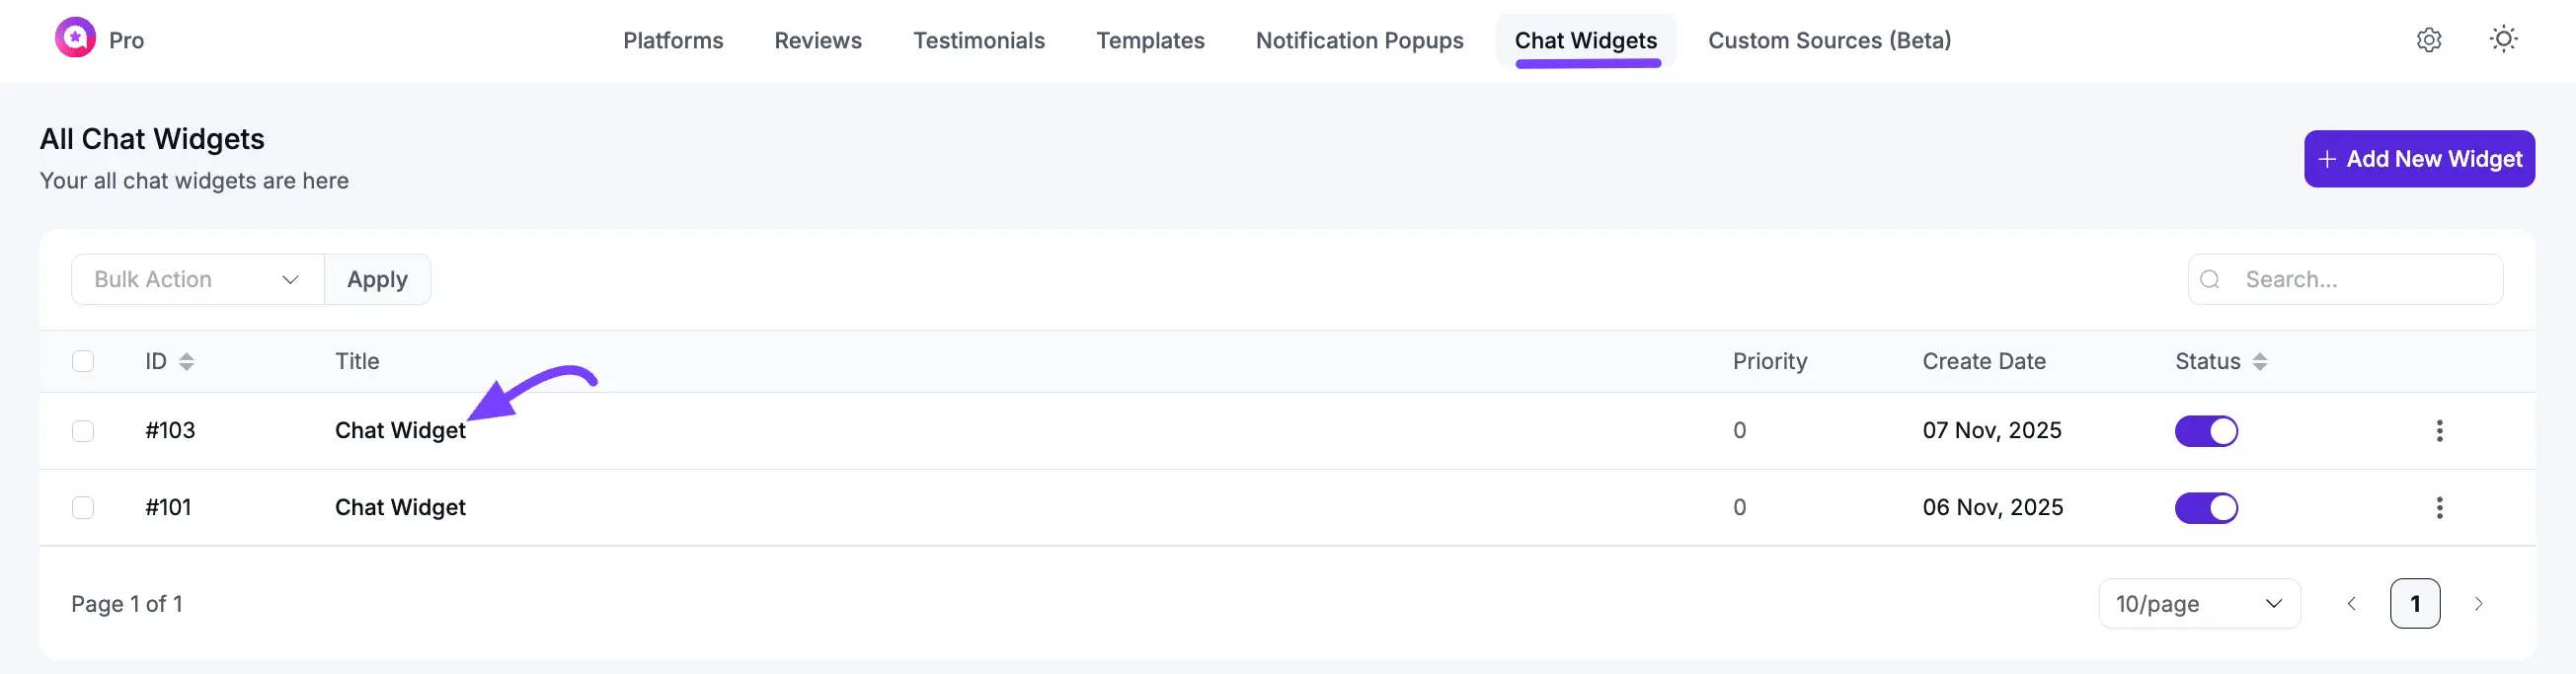
After clicking the chat widget, select the General tab, and you will see all the availableble general settings. Now you can customize your general and global setting for this Chat Widget.
Template
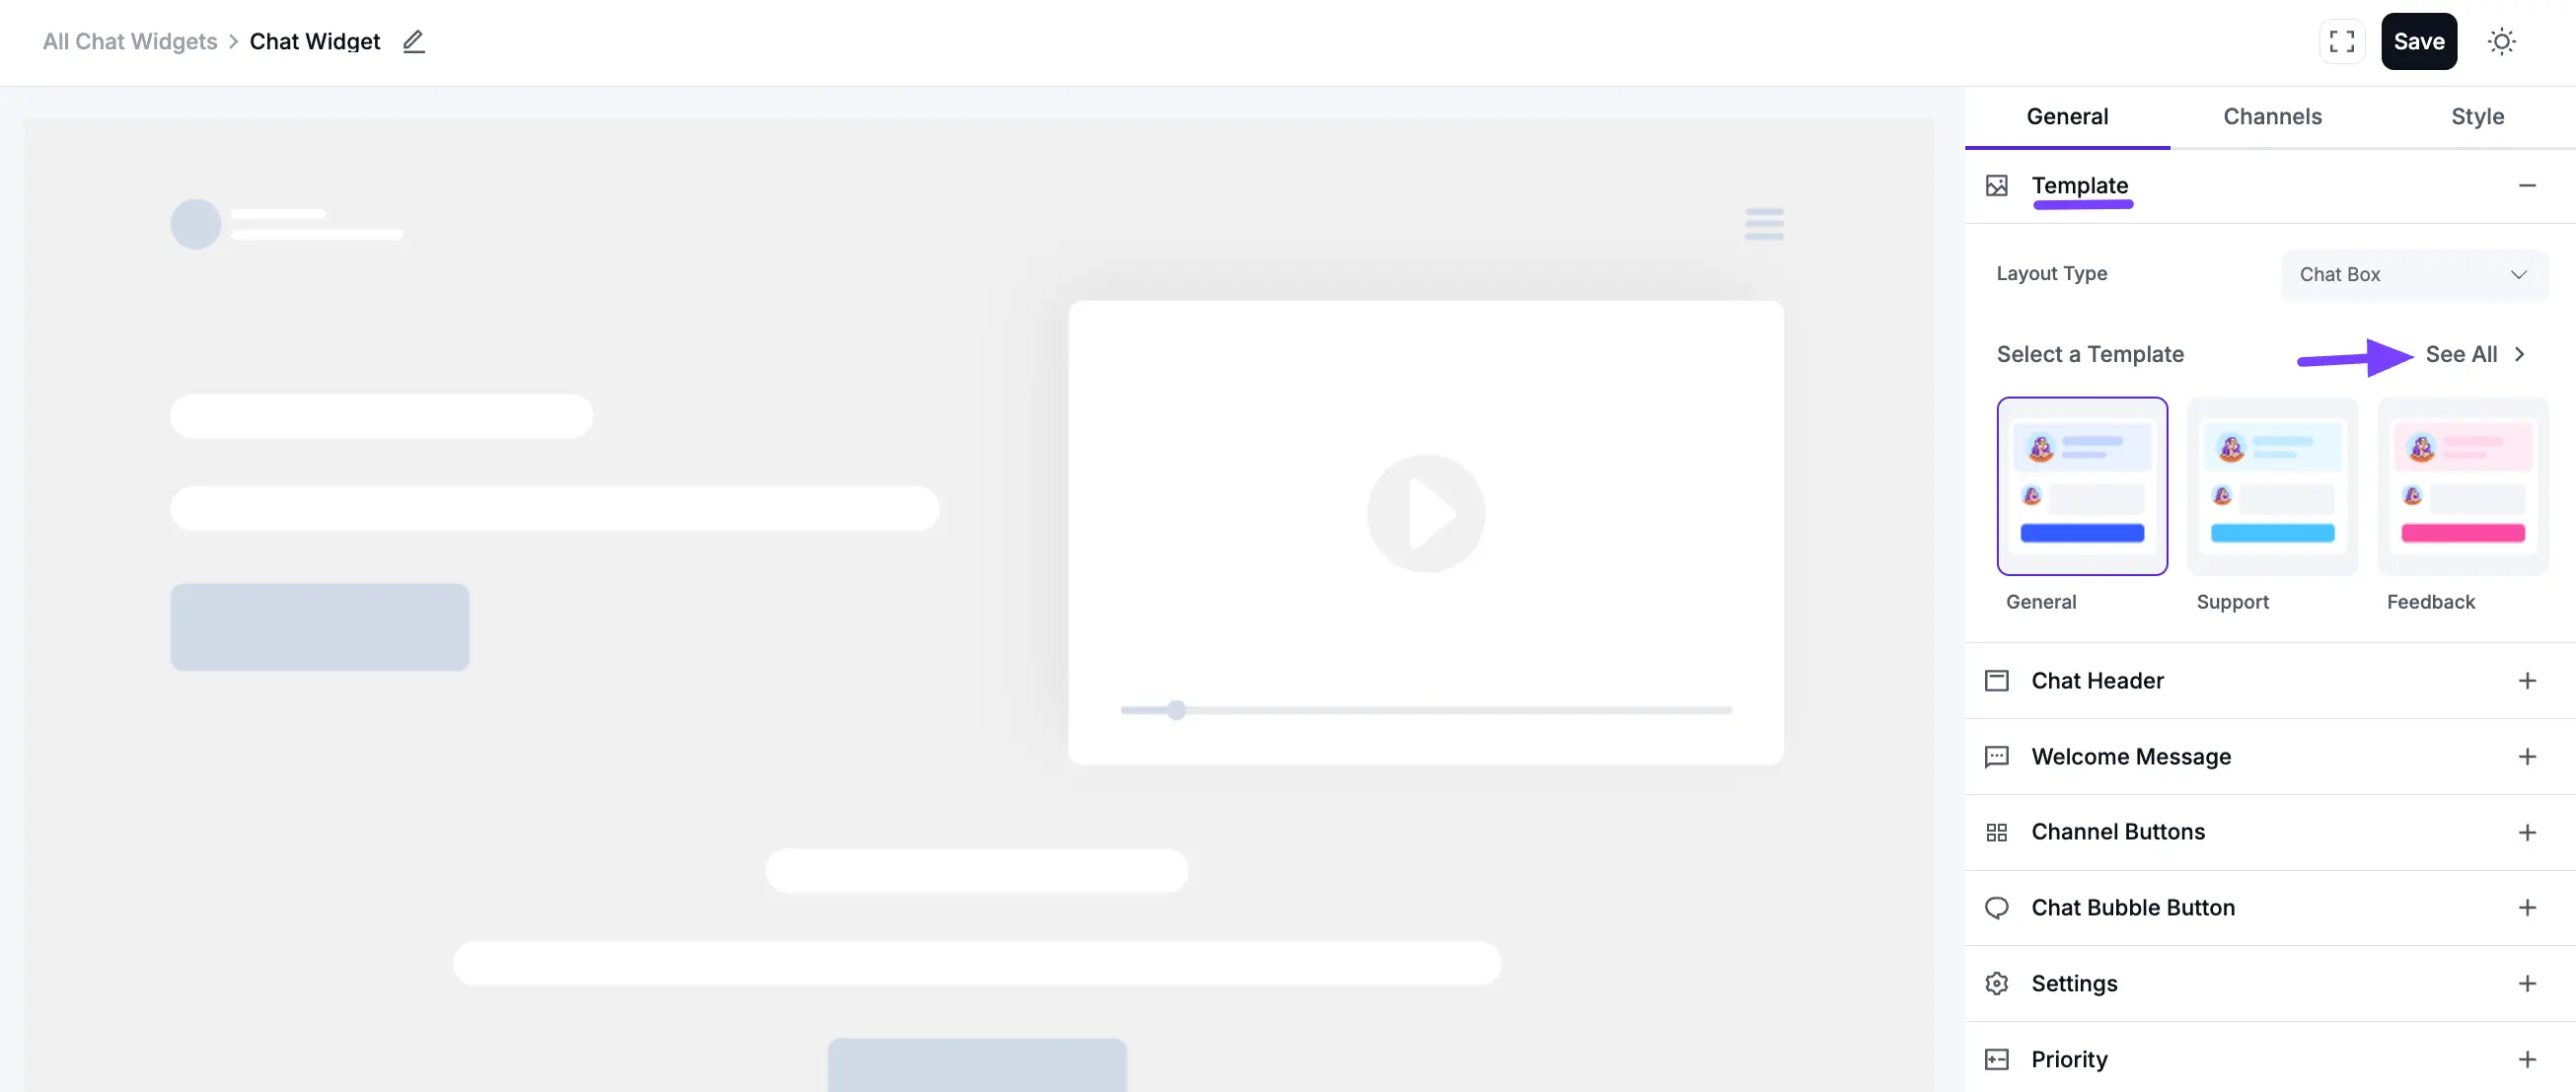
The Template section allows you to choose the overall layout and visual style of your chat widget.
- Layout Type: Choose the primary layout for your chat widget. The default is Chat Box, which provides a full chat interface. Also, you can select the Only Icon option from the dropdown, and it shows only the chat icon.
- Select a Template: Pick a pre-made design. You can choose General, Support, or Feedback to get a different color scheme and layout right from the start.
Chat Header
The Chat Header section allows you to customize the top area of the chat widget that users see, building brand identity and trust.
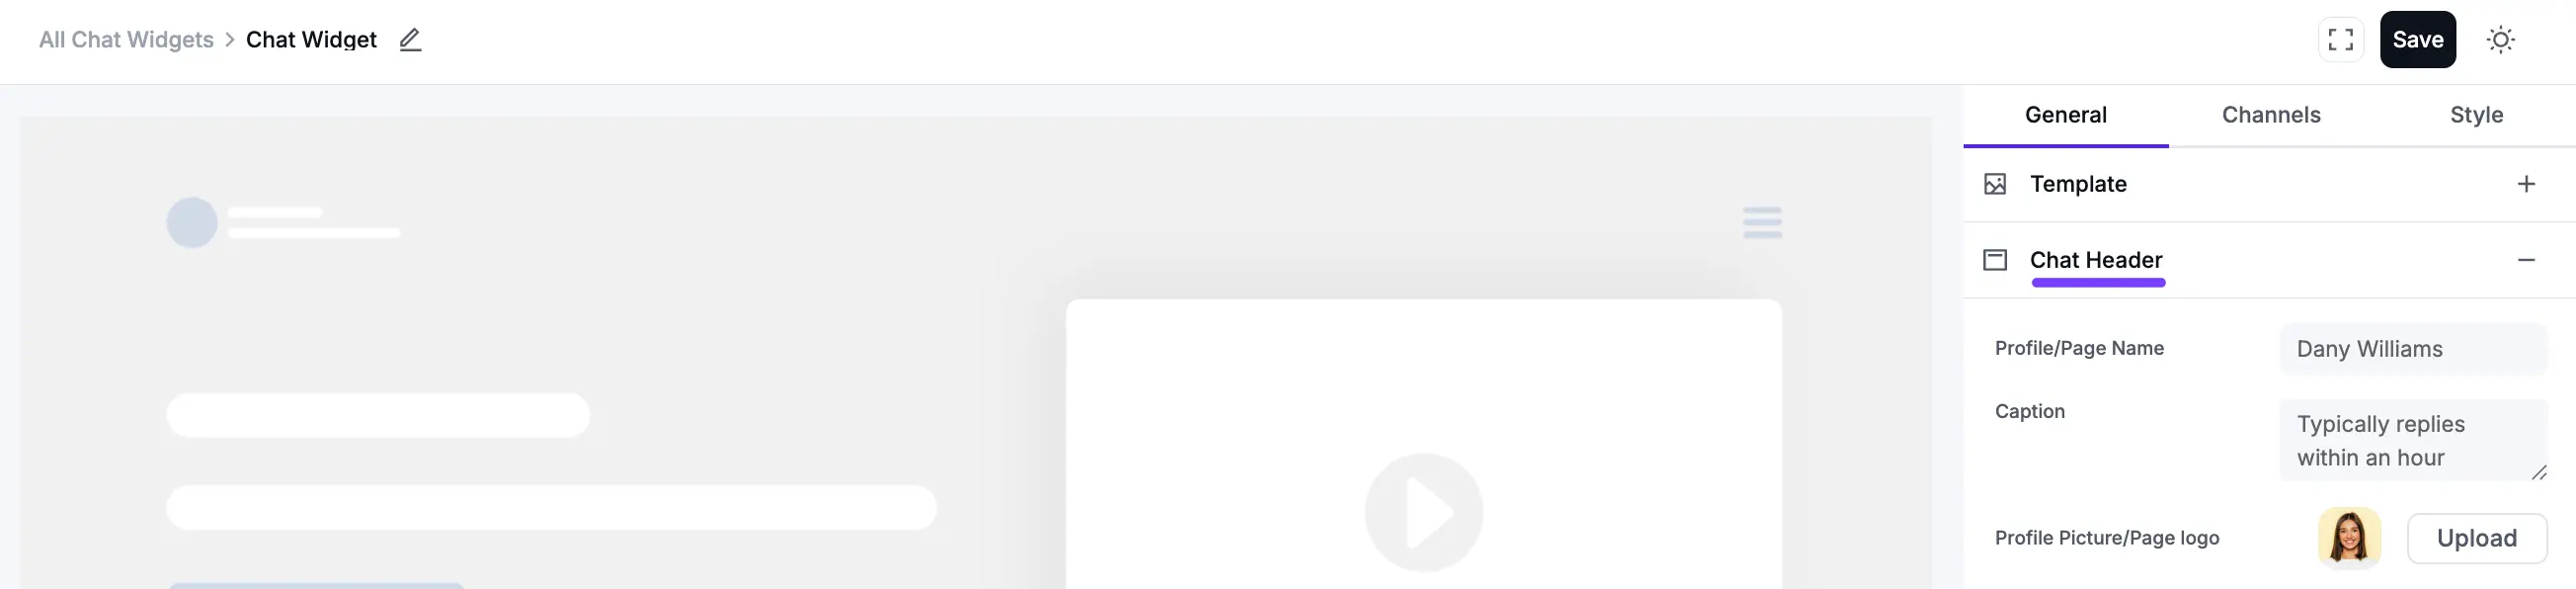
- Profile/Page Name: Enter the name you want to display at the top of the chat header, such as your business name or a support agent's name.
- Caption: Set a short text that appears below the name. This is often used to set expectations (e.g., "Typically replies within an hour").
- Profile Picture/Page Logo: Upload an image to be used as the avatar or logo in the chat header, making your widget easily recognizable.
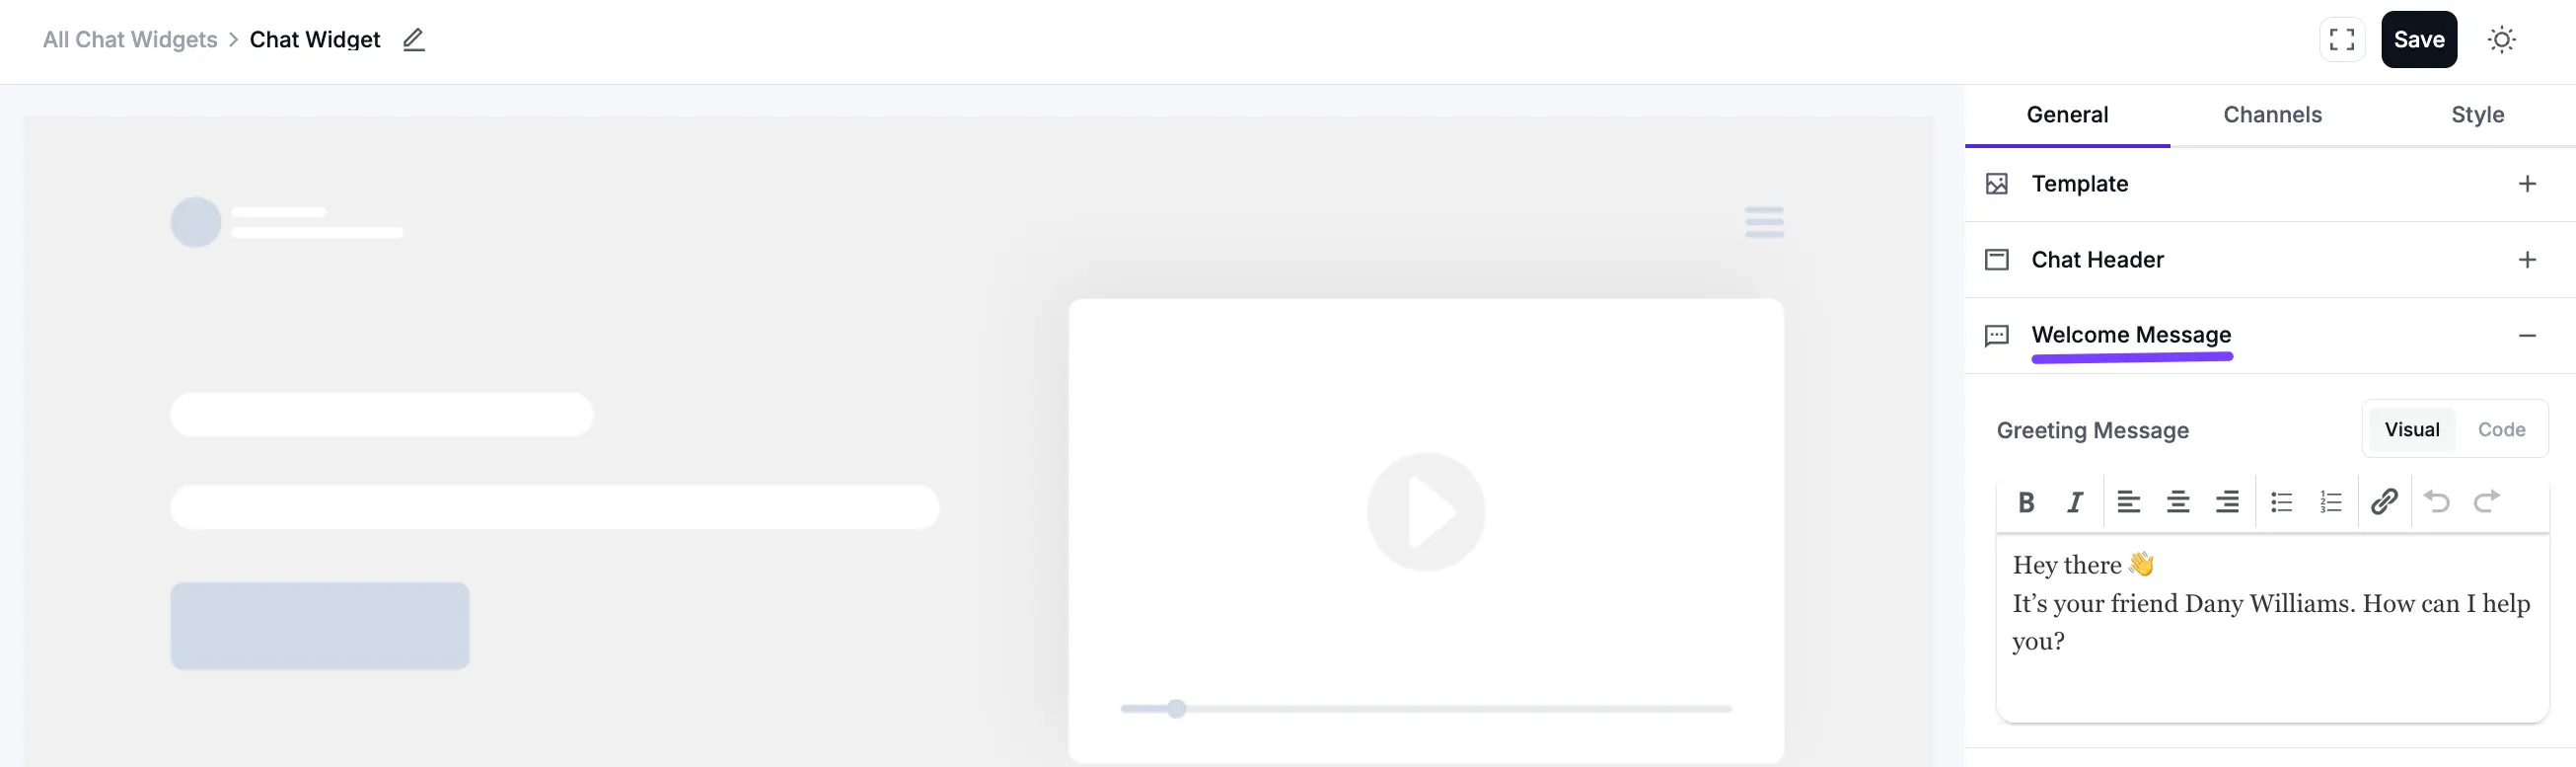
Welcome Message
This is the first message a visitor sees inside the chat window.
- Greeting Message: Use the rich text editor to create a friendly, inviting message. You can format the text (bold, italics, etc.) and use emojis to personalize the greeting that appears above your channel buttons.
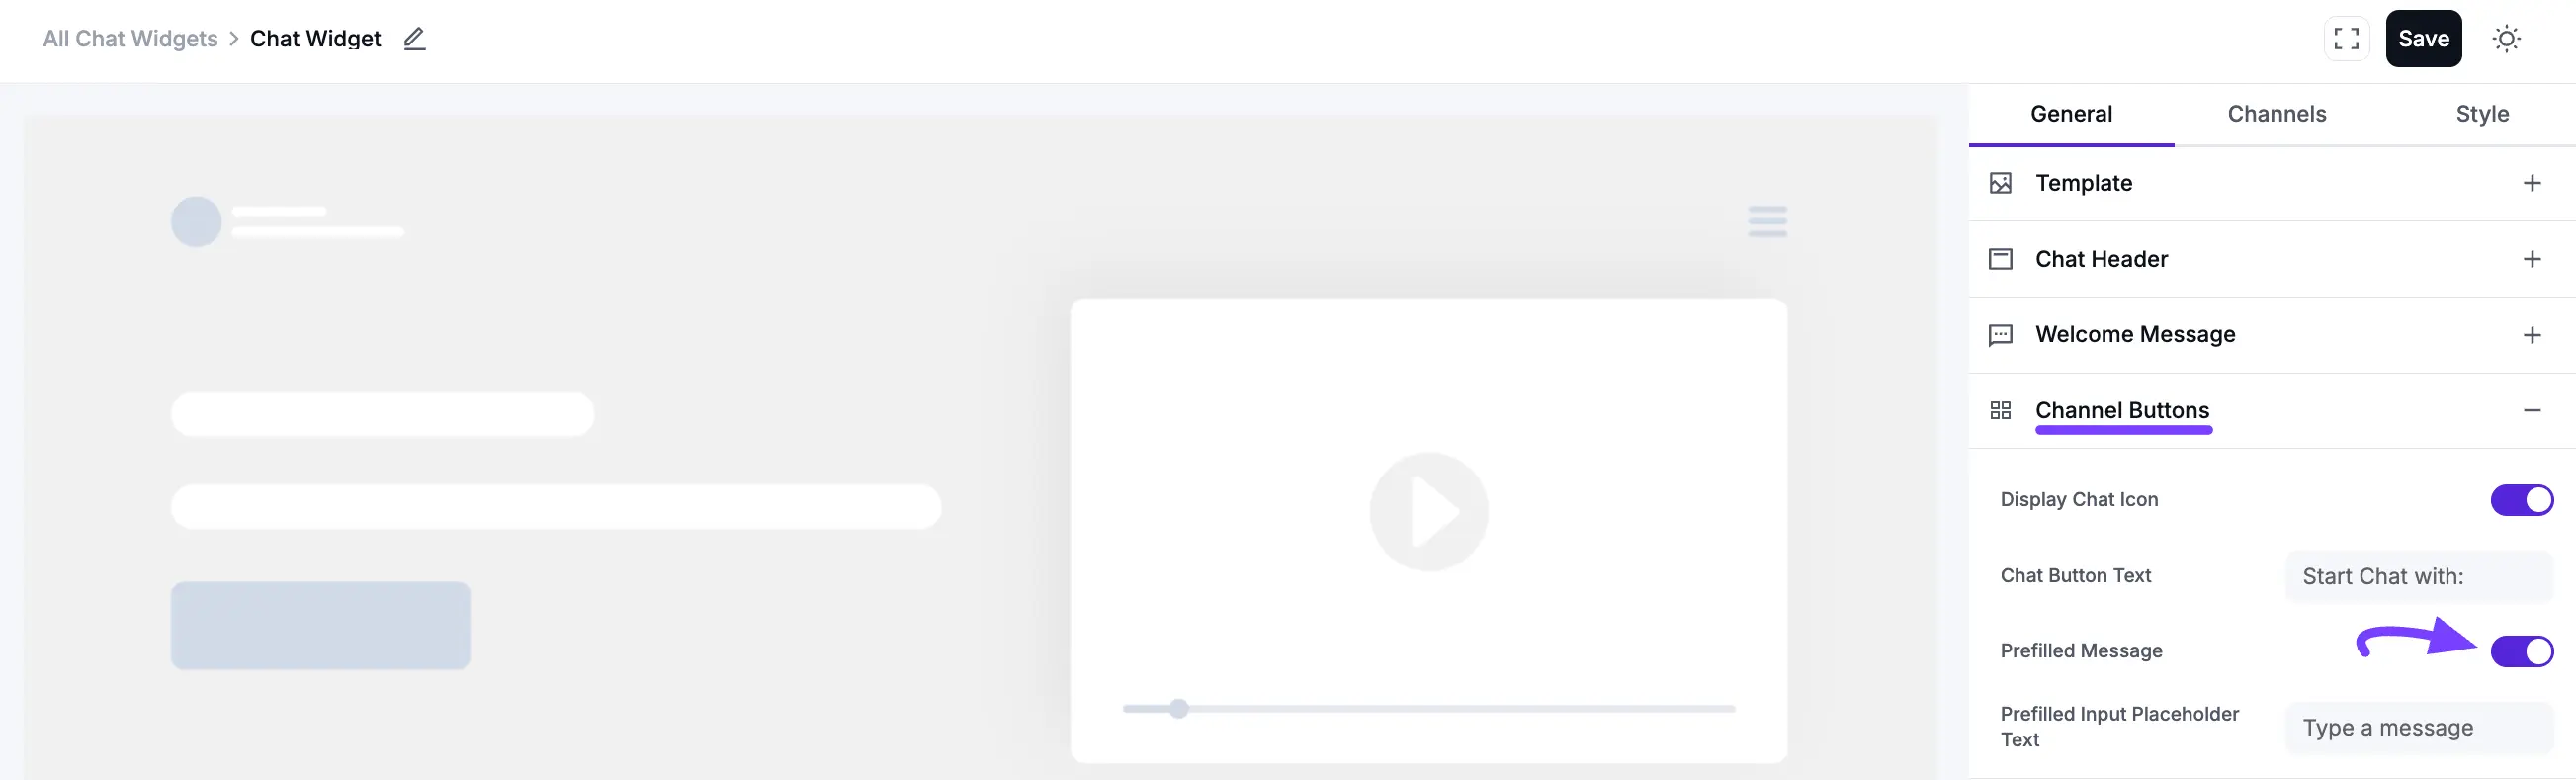
Channel Buttons
These are the settings for the buttons and text box inside the chat window, which users click to start talking to you.
- Display Chat Icon: Toggle this on or off to show or hide the small icon located next to the "Chat Button Text."
- Chat Button Text: Customize the text that appears on the main action button (e.g., "Start Chat with").
- Prefilled Message: Toggle this on to automatically populate the text area with a message, which the user can send immediately or edit.
- Prefilled Input Placeholder Text: Set the placeholder text that appears in the message input field before the user starts typing (e.g., "Type a message...").
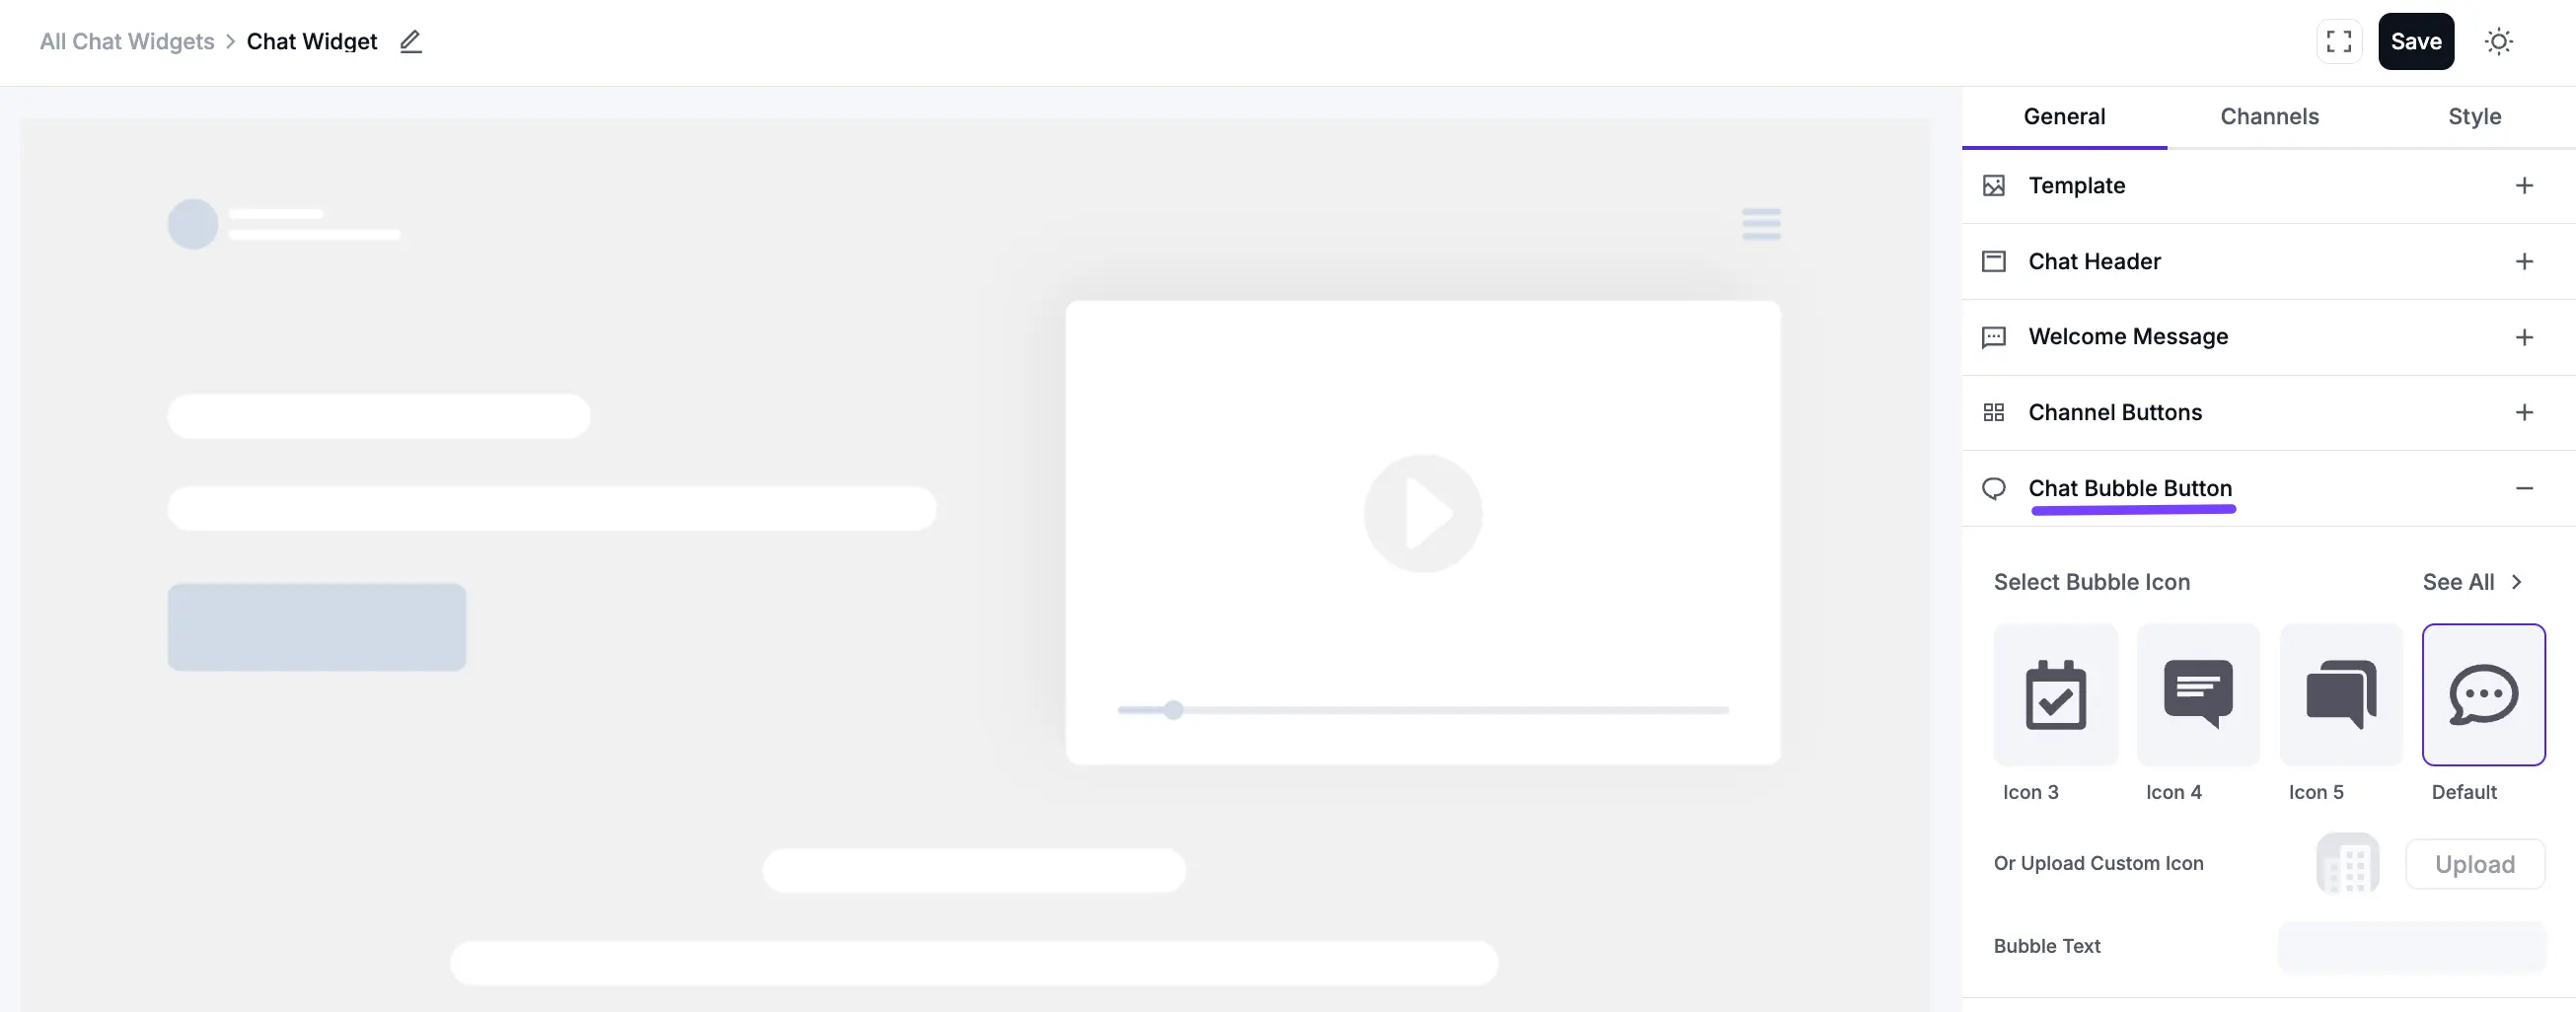
Chat Bubble Button
The Chat Bubble Button section lets you customize the floating button on your website that users click to open the chat widget. You can adjust your Chat Bubble Position in four different ways, from Bottom Right to Bottom Left and Top Left to Top Right.
- Select Bubble Icon: Choose from a gallery of pre-set icons (like a message bubble, calendar, or question mark) to find the one that best fits your site.
- Or Upload Custom Icon: Upload your own branded or custom icon for a unique look.
- Bubble Text: Add optional text that appears next to the bubble icon to encourage users to click (e.g., "Chat with us!").
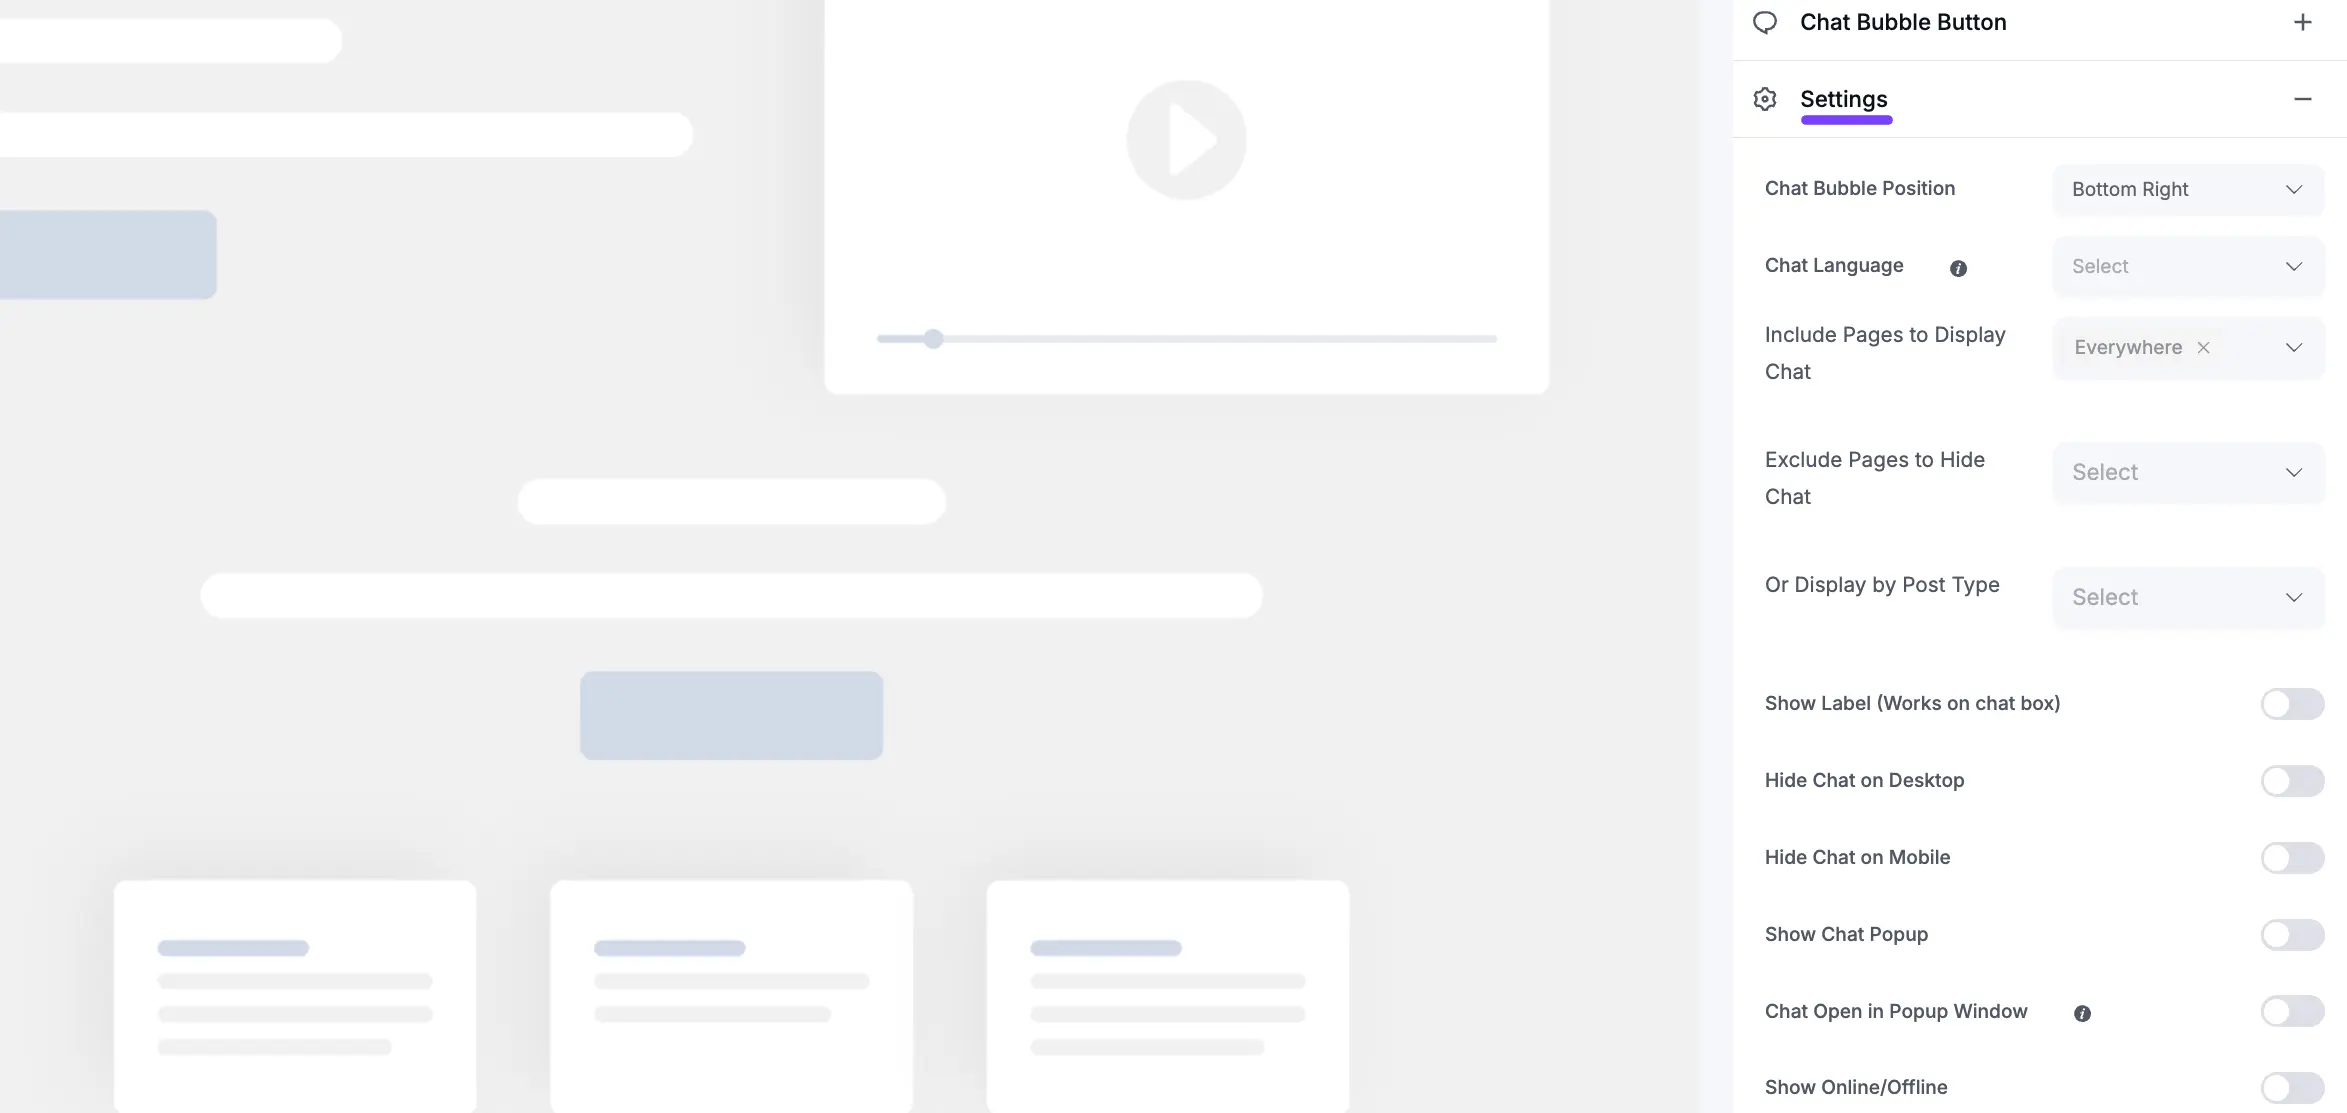
Settings
This is the most important section. It controls where and how your chat widget appears.
Chat Bubble Position: Choose which corner of the screen the chat bubble will appear on (e.g., "Bottom Right" or "Bottom Left").
Chat Language: Select the display language for the widget's built-in text elements. Click the dropdown option, and you will find many languages to select.
The chat widget automatically inherits the site’s language settings. This means it will function correctly only when the widget language matches the site language configured in WordPress. If the two languages are different, the chat widget may not display or operate as intended.
For websites that need to support more than one language, a multilingual plugin (such as WPML, Polylang, or TranslatePress) must be installed and configured. These plugins allow you to define multiple site languages and ensure the chat widget adapts accordingly, providing a seamless experience for users in their preferred language.
Include Pages to Display Chat: Control where the chat widget appears from the dropdown options.
- Everywhere: Shows the widget on all pages (default).
- Specific Pages/Posts: Lets you select individual pages, posts, or custom post types where the widget should be visible.
Exclude Pages to Hide Chat: Select specific pages where you do not want the chat widget to appear, even if it's set to show everywhere else.
Or Display by Post Type: Choose to show the widget only on certain post types (e.g., "Posts," "Pages," or "Products").
Show Label (Works on chat box): Toggle to display an additional label on the chat box.
Hide Chat on Desktop: Enable this to hide the chat widget from all users on desktop computers.
Hide Chat on Mobile: Enable this to hide the chat widget from all users on mobile devices.
Show Chat Popup: Toggle to make the chat window pop up automatically after a set time to proactively engage visitors.
Chat Open in Popup Window: Enable this to have the chat open in a new, separate browser window instead of an embedded widget on the page.
Show Online/Offline: Toggle to display your availability status, which can be configured based on your schedule.
Priority
The Priority section helps you manage which chat widget to display if you have created multiple widgets with conflicting display conditions. This setting is only for advanced use.
- Priority for this Stream: Set a numerical value. If you have created multiple chat widgets and they are both set to appear on the same page, the widget with the highest priority number will be the one that is shown.
It’s always this easy with WP Social Ninja.