Appearance
How to Embed Templates with Elementor
Have you ever wanted to add your beautifully styled social feeds directly into your Elementor pages? WP Social Ninja provides native Elementor widgets, making it incredibly easy to embed your saved templates in seconds.
This allows you to build your pages with Elementor and seamlessly pull in your pre-designed reviews, feeds, or chat widgets.
The plugin includes several native widgets:
- Social Ninja Reviews
- Social Ninja YouTube
- Social Ninja Instagram
- Social Ninja Twitter
- Social Ninja Facebook Feed
Before You Begin
- Make sure you have the Elementor plugin installed and activated.
- You must have already created and saved a template inside the WP Social Ninja dashboard (for example, an Instagram feed template). This process only loads existing templates.
Add Your Template in Elementor
We'll use the Social Ninja Instagram widget as an example, but the steps are identical for all other WP Social Ninja widgets.
Step 1: Edit with Elementor
First, go to the WordPress page where you want to add your feed and click the "Edit with Elementor" button to open the page builder.
Step 2: Find the Widget
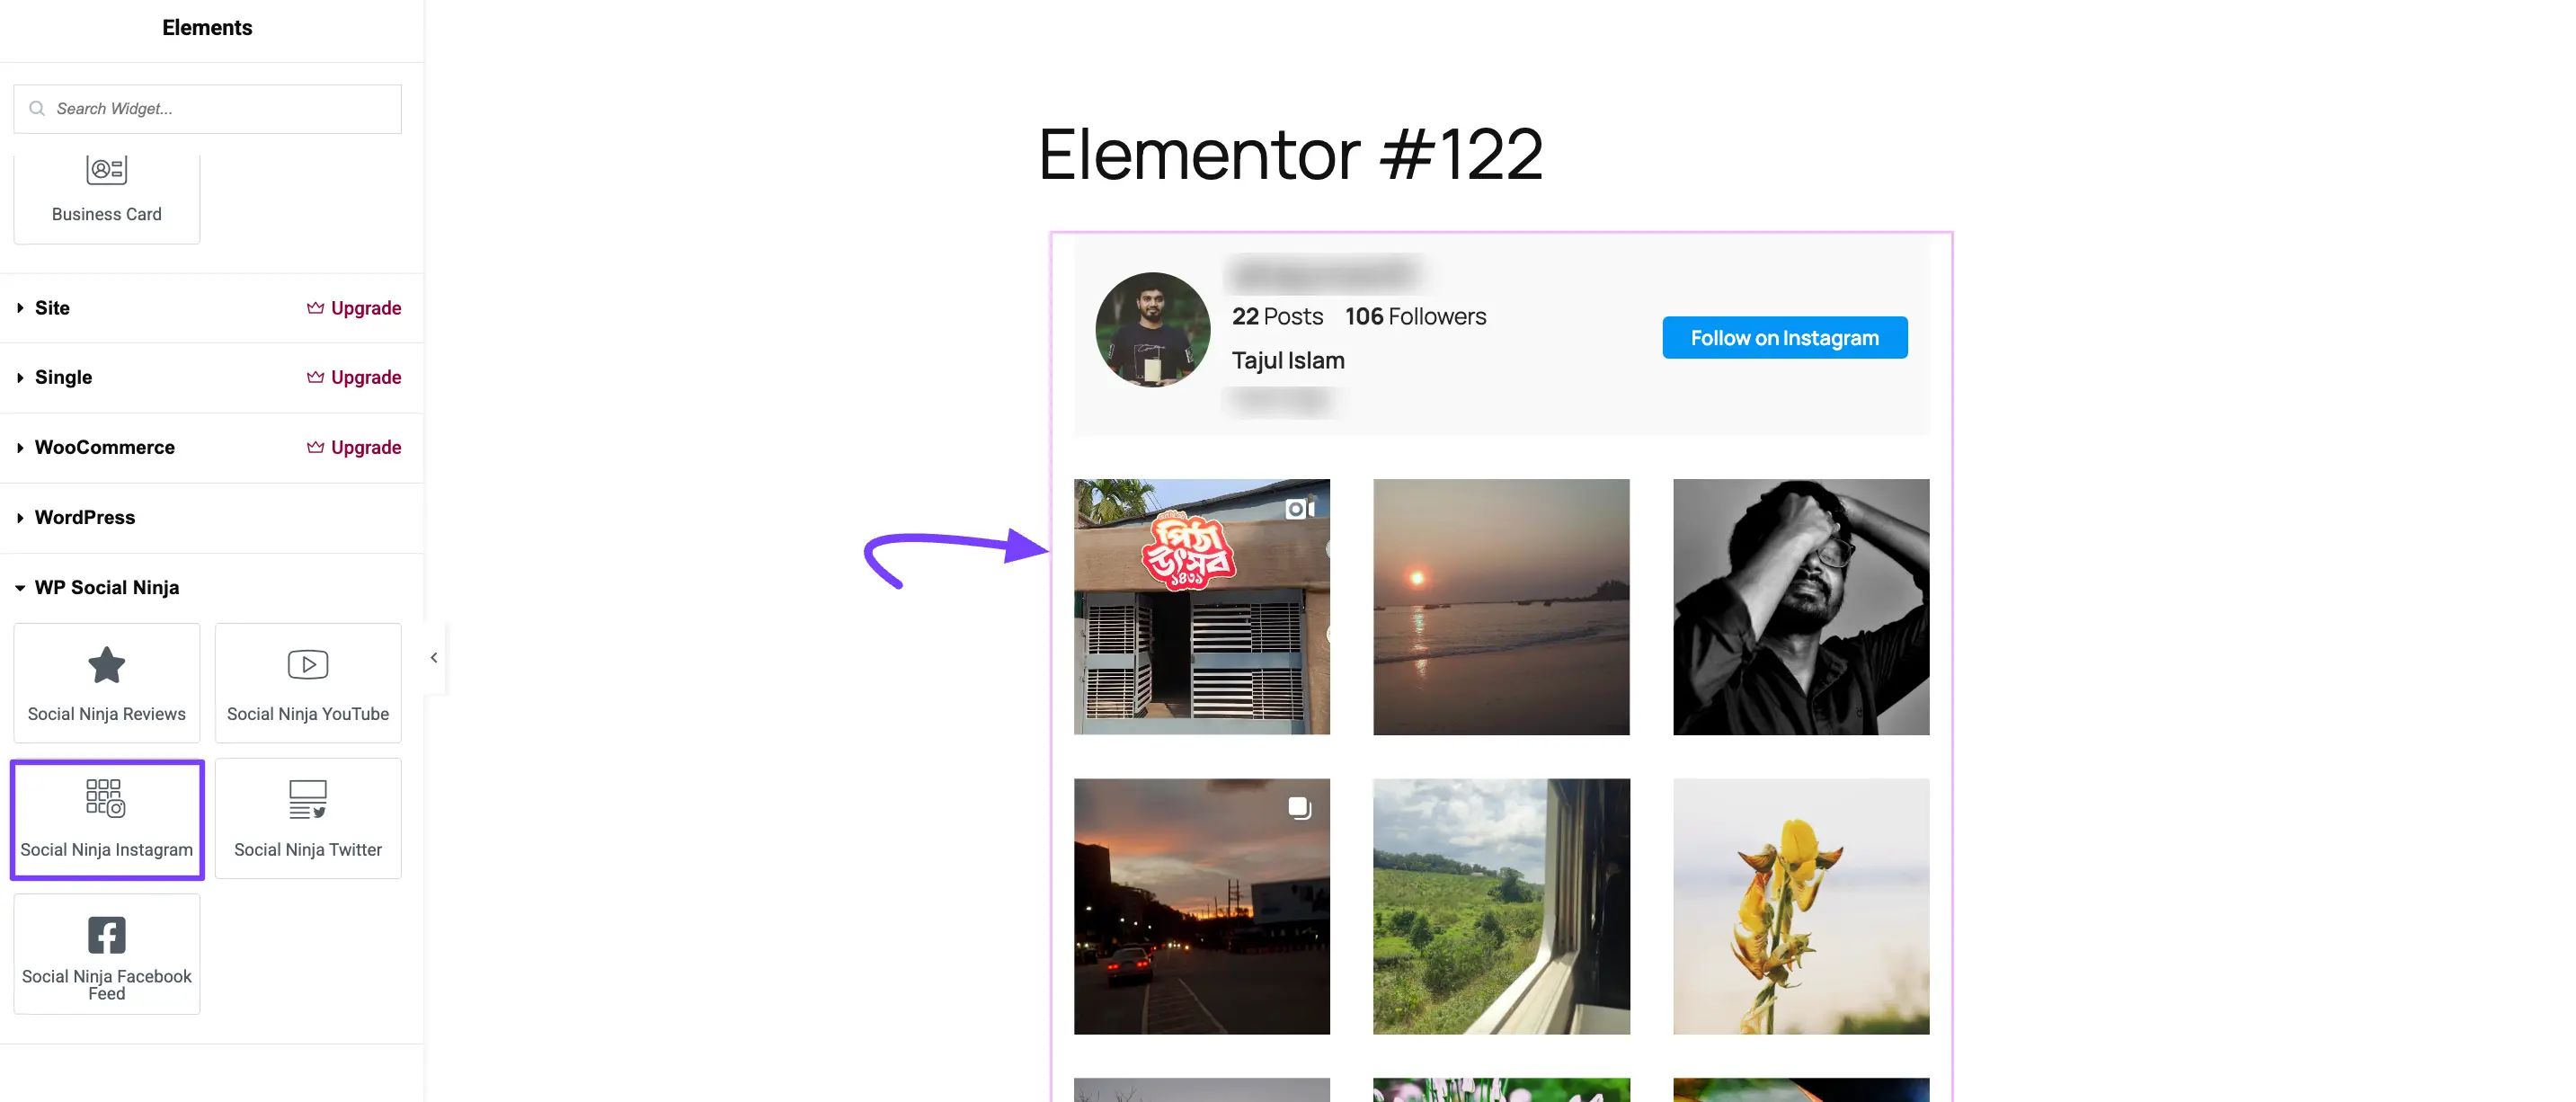
In the Elementor widget panel on the left side, use the search bar to type "Social Ninja". You will see the list of all available WP Social Ninja widgets.
Step 3: Add the Widget to Your Page
Drag the "Social Ninja Instagram" widget from the panel and drop it into any section on your Elementor page.
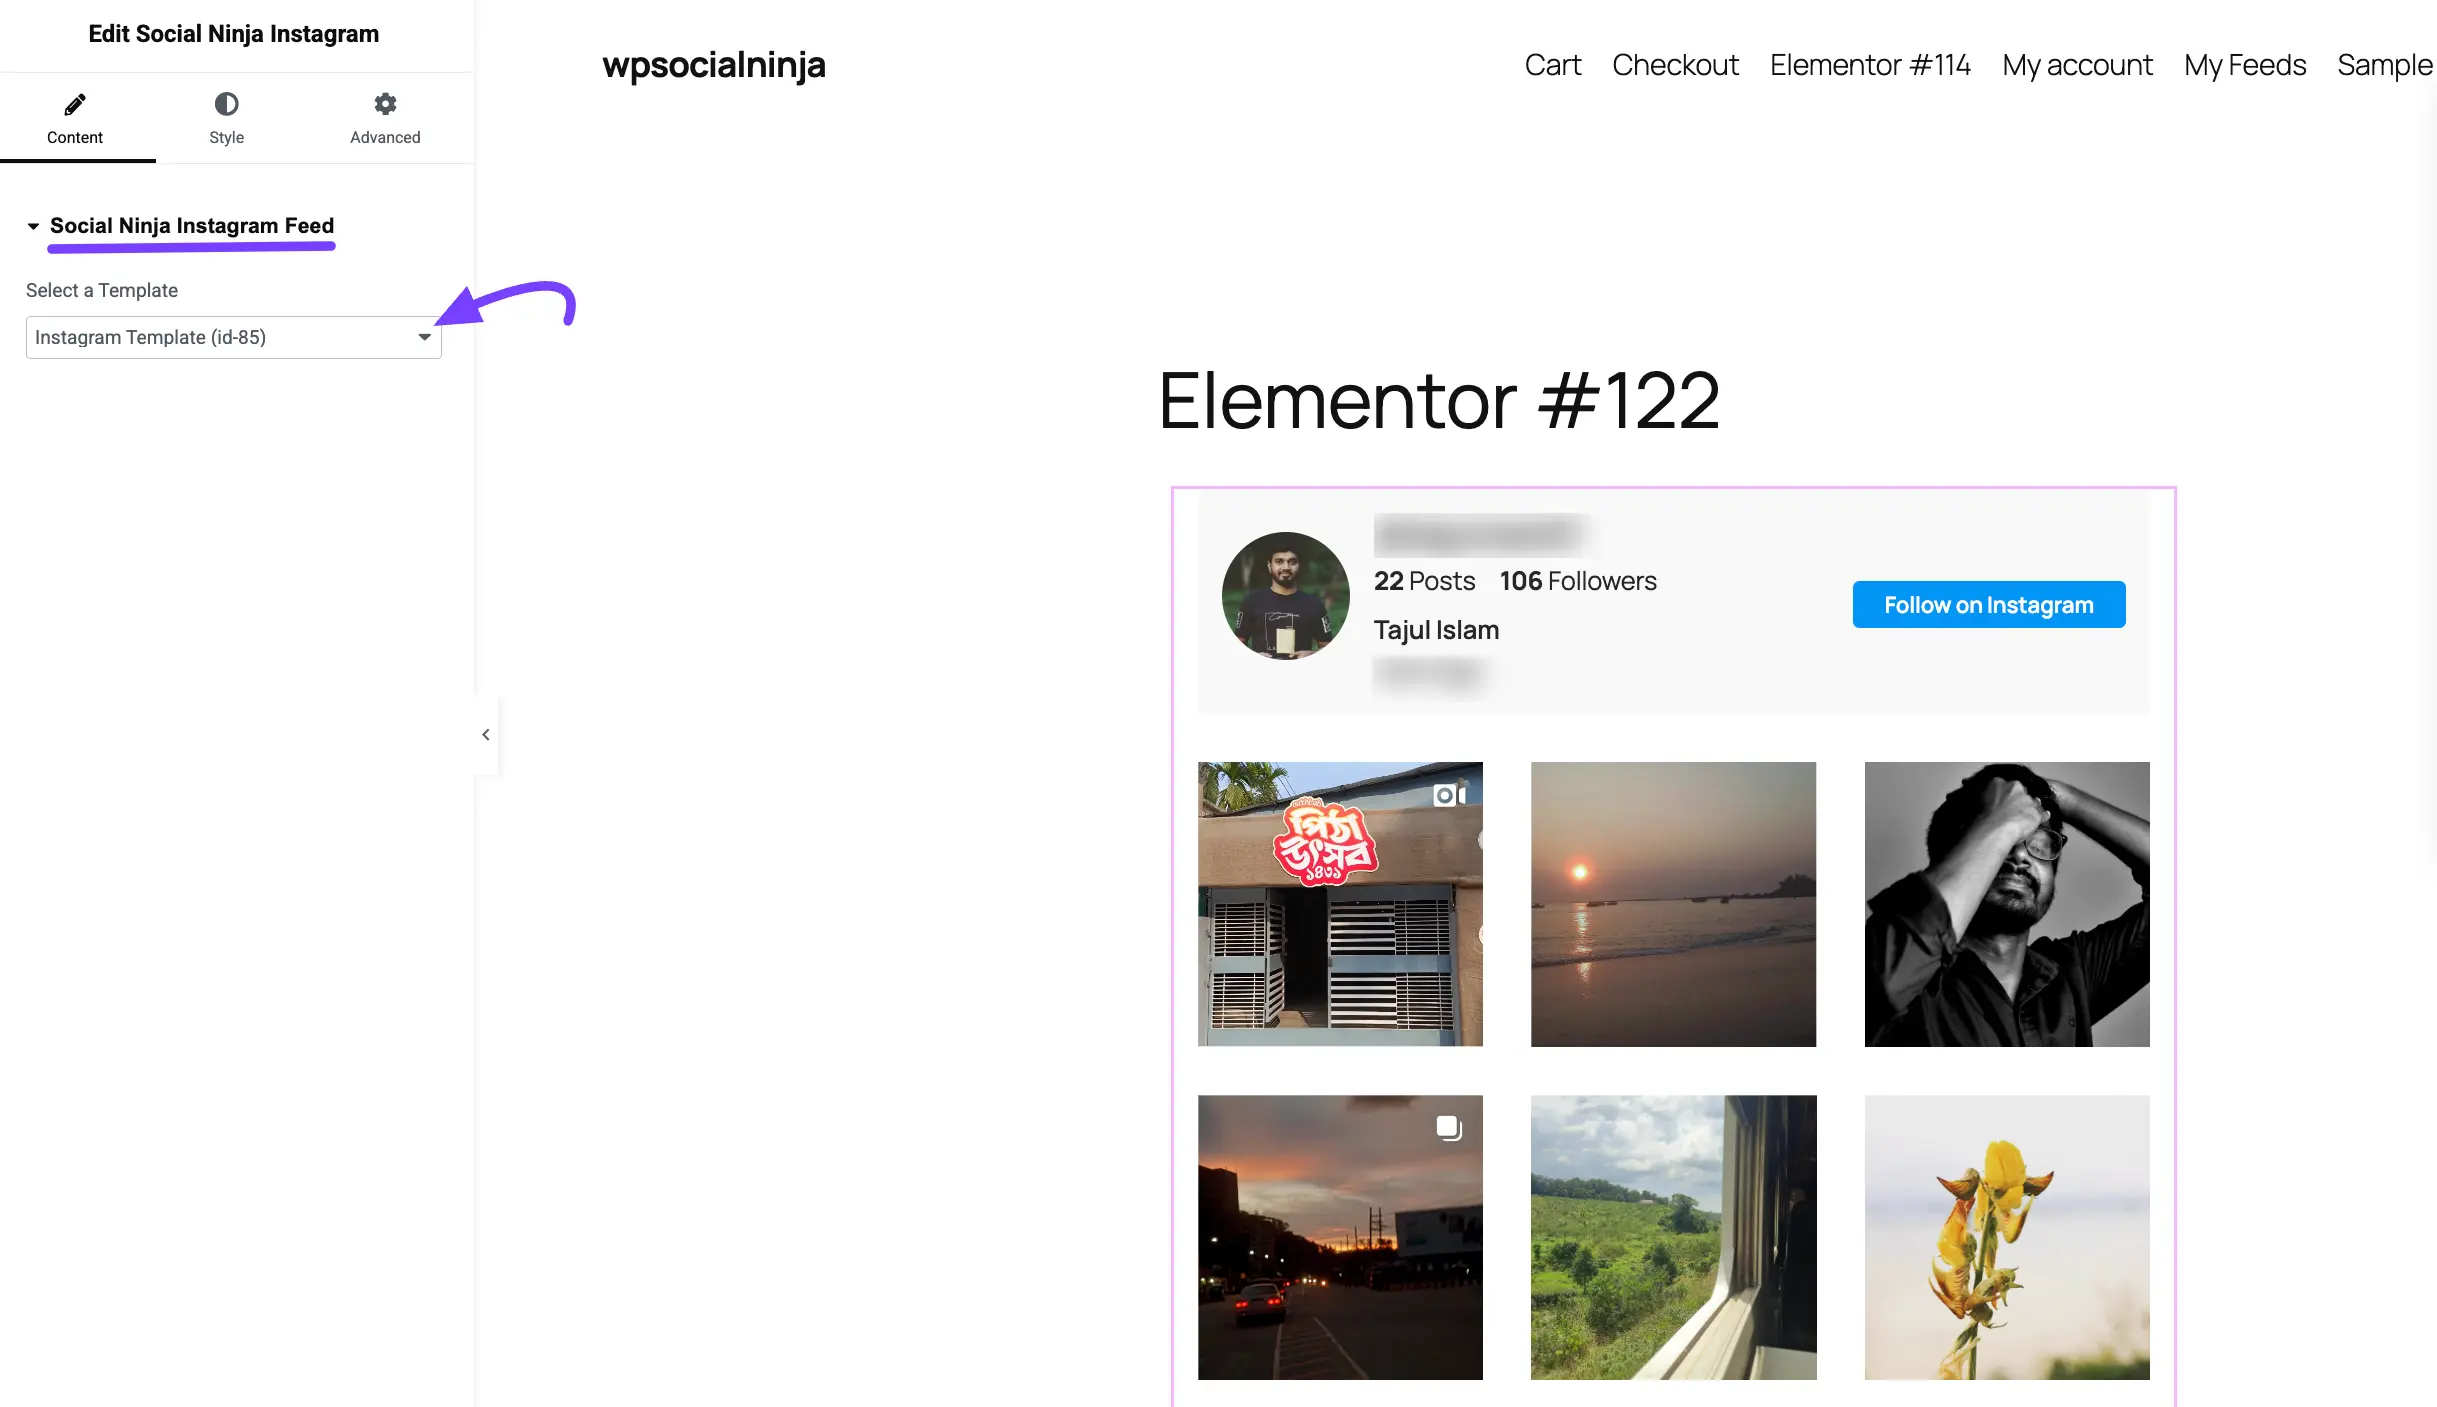
Step 4: Select Your Template
As soon as you drop the widget, the left panel will update to show the widget's settings.
Click the "Select a Template" dropdown menu. This will show you a list of all the Instagram feed templates you have already created. Choose the one you want to display.
Your pre-styled Instagram feed will instantly load in the Elementor preview, exactly as you designed it!
Customizing Your Widget in Elementor
After you've selected your template from the Content tab, Elementor gives you powerful options to make further adjustments using the Style and Advanced tabs.
This allows you to override your template's saved settings for a specific page, or add spacing and animations.
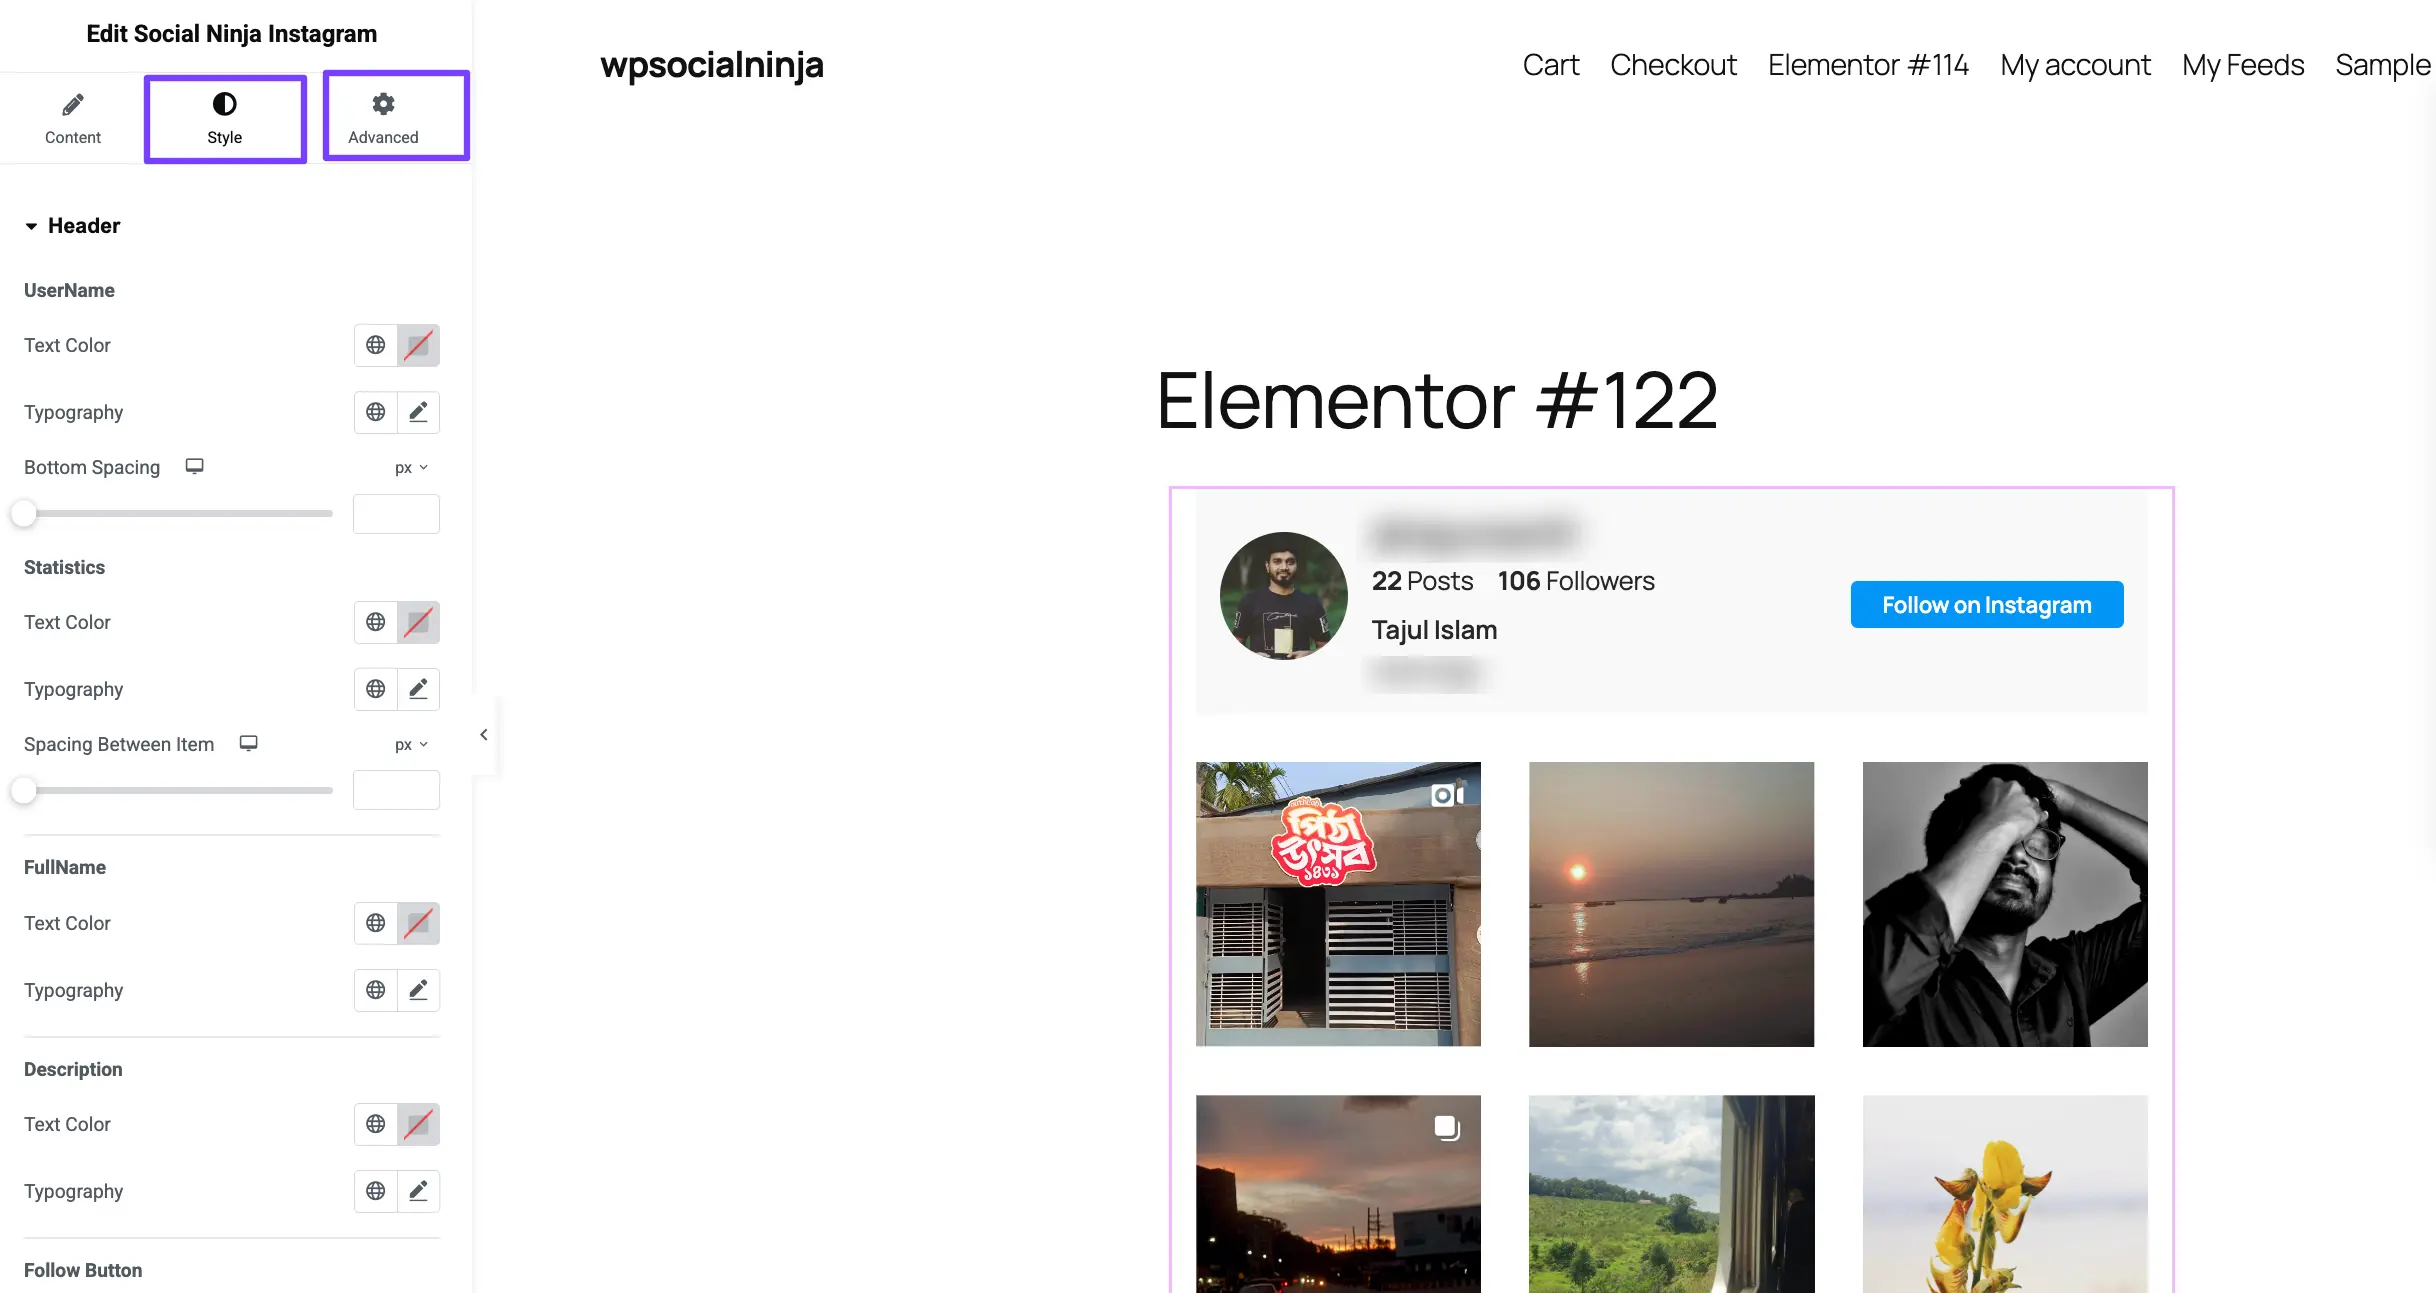
The Style Tab
The Style tab is created by WP Social Ninja and allows you to change the specific colors and typography of the feed content itself. This is perfect if you want the feed on this one page to look different from your main template.
The settings here are organized to match the parts of your feed:
- Header: Controls the appearance of your feed's header, such as the profile picture, username, and "Follow" button.
- Content: Let's you adjust the styling of the feed posts themselves.
- Statistics: Allows you to change the colors and fonts for the "Posts," "Followers," and "Following" text.
- Pagination: Gives you control over the "Load More" button's appearance (if you have it enabled).
- Item Box: Controls the styling for the container of each post or photo in your feed.
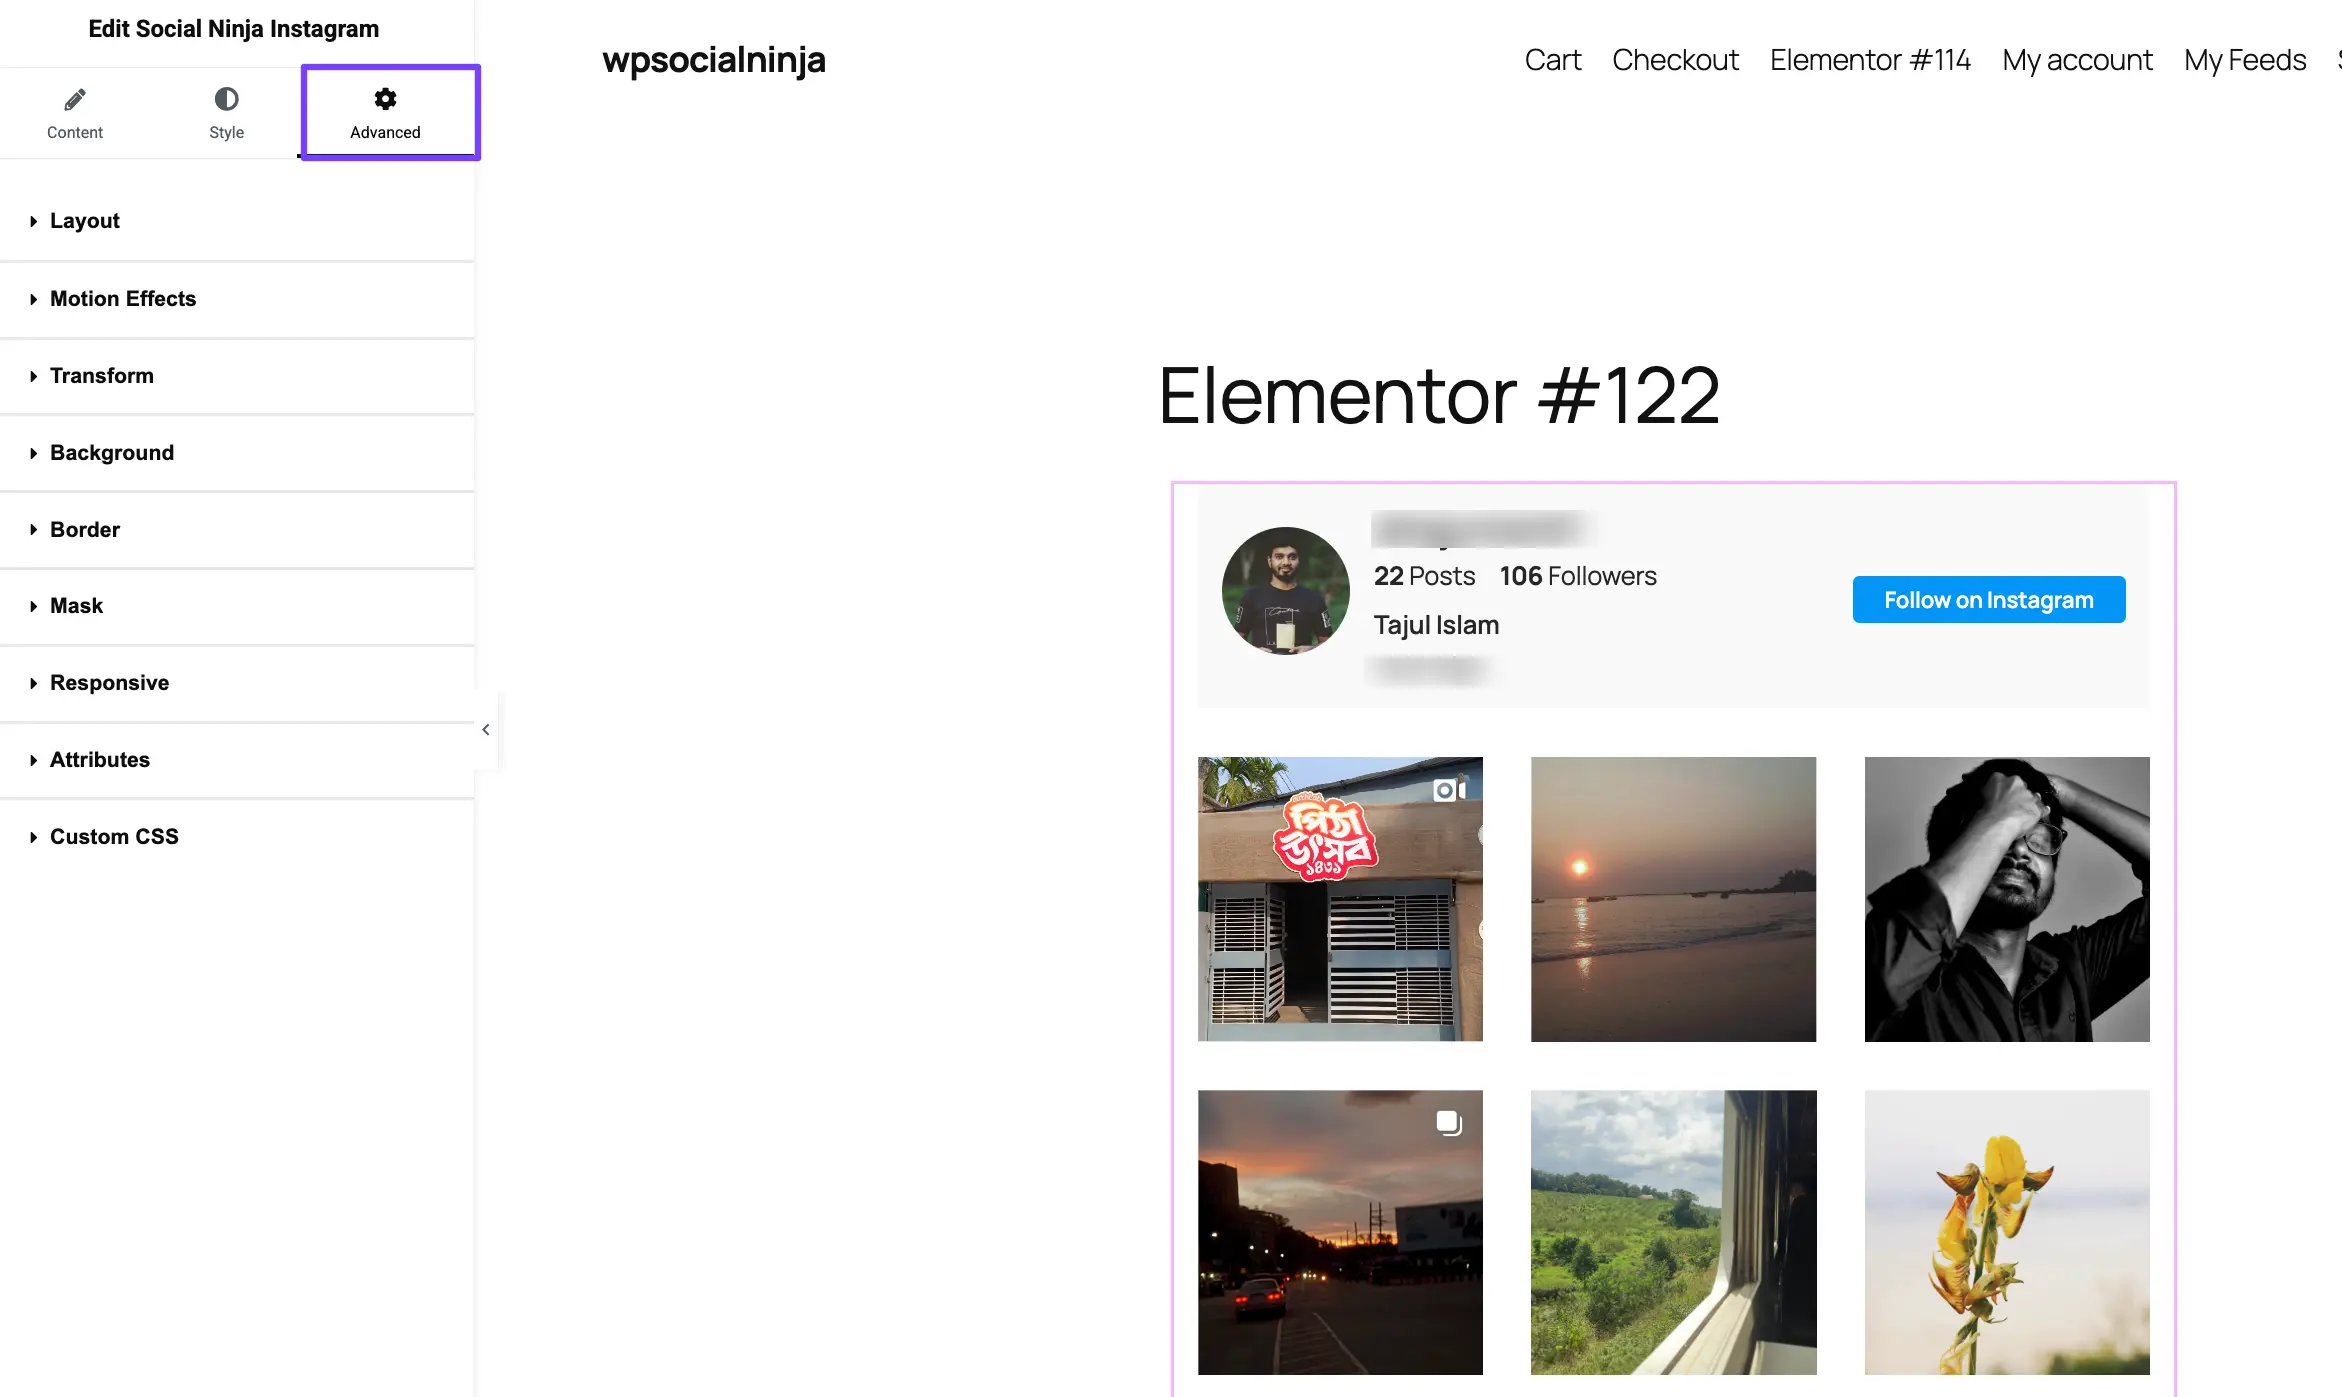
The Advanced Tab
The Advanced tab is a standard Elementor feature that is available for all widgets. These settings control the widget container—the "box" that your entire social feed sits inside.
This tab is not for styling the feed content (like post colors), but rather for positioning the widget on your page.
Common settings you'll use here include:
- Layout: The most common use. This is where you can add Margin (space outside your widget) or Padding (space inside your widget) to give your feed some breathing room.
- Motion Effects: Use this to add animations, like making your feed Fade In as the user scrolls down the page.
- Border: Lets you add a solid or dashed border around the entire widget box.
- Responsive: A very powerful feature. This lets you hide the entire widget on certain devices. For example, you can choose to show your feed on desktops but hide it on mobile.
When you are finished, just click the "Publish" (or "Update") button at the top corner of the Elementor panel. That's it! Your live page will now display your social feed.