Appearance
How to Manually Add or Import Custom Reviews
The Custom source type is ideal if you already have reviews that you want to display on your website. These could include testimonials collected through email, feedback from offline customers, or reviews imported from another platform.
With this option, you can either:
- Add reviews manually one by one, or
- Import them in bulk using a CSV file.
This gives you full control over how your existing reviews appear in WP Social Ninja.
Step 1: Create Your "Custom" Source
First, you’ll need to create a Custom Source, a dedicated space to store your manual or imported reviews. Here’s how:
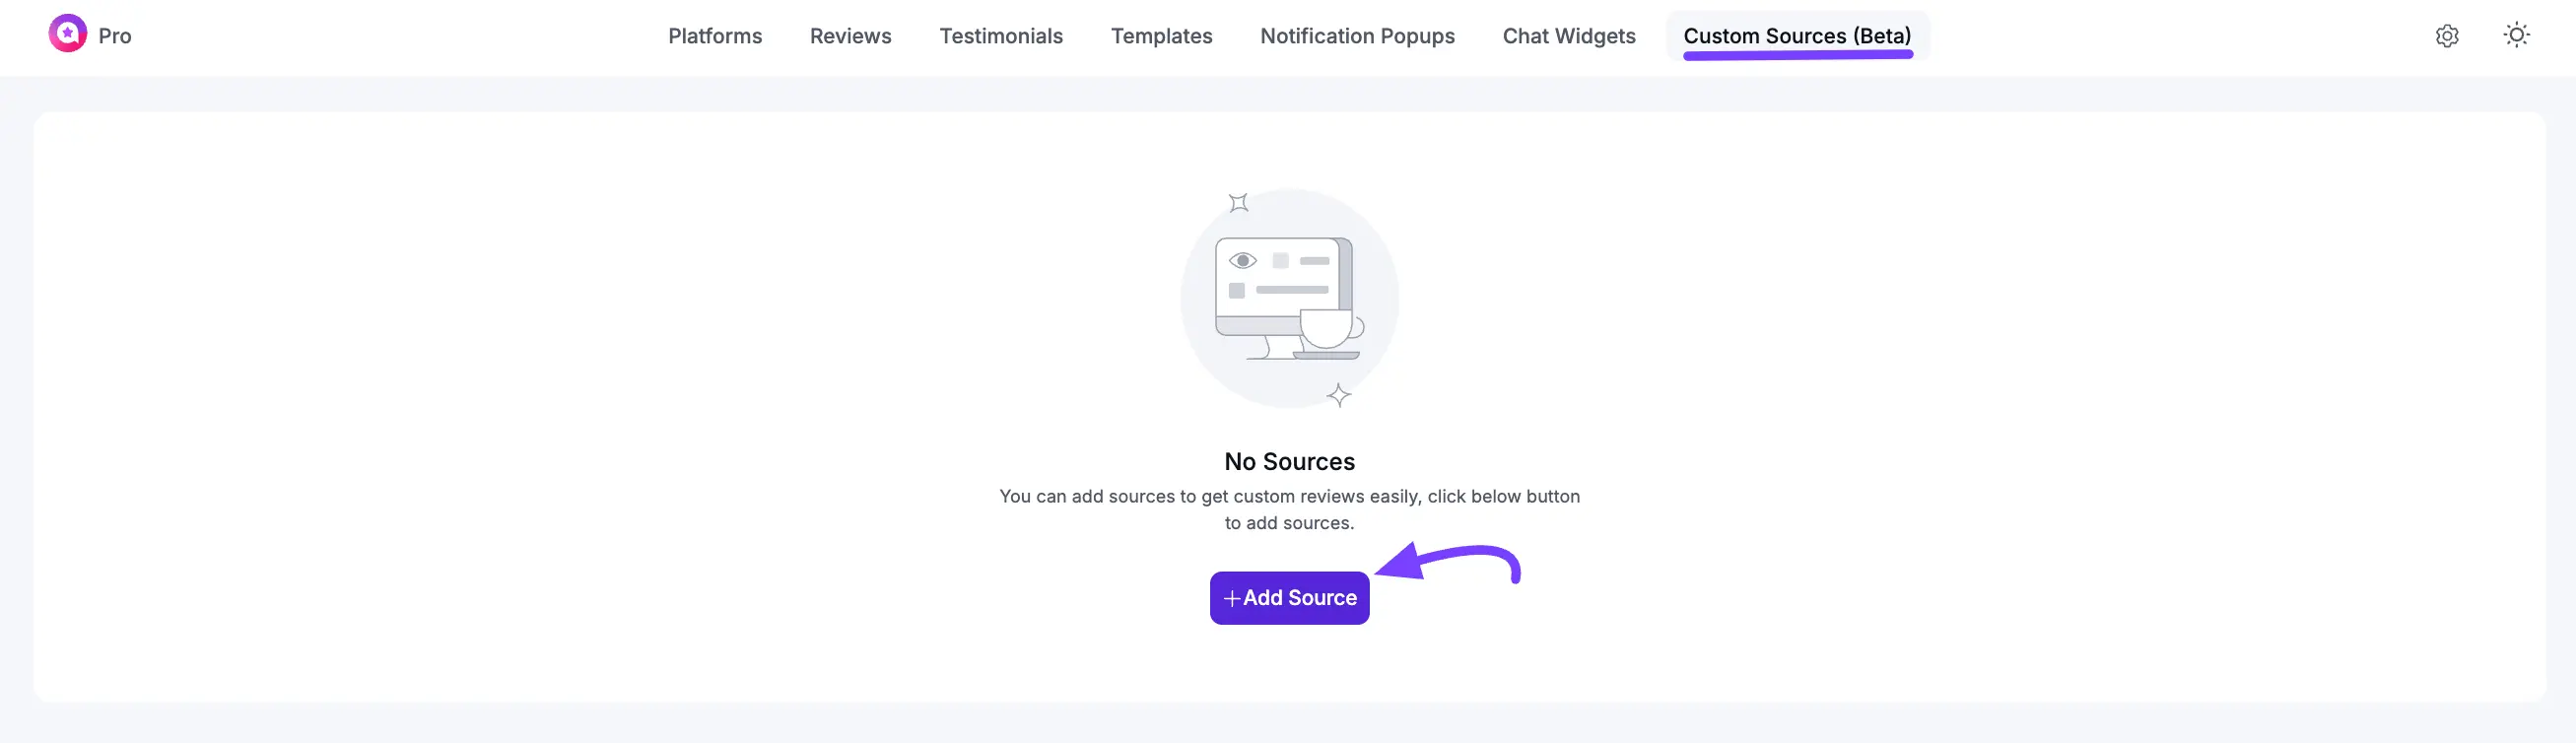
From your WordPress dashboard, go to WP Social Ninja → Custom Sources. Click the + Add Source button.
In the pop-up that appears, select Custom. Enter a descriptive name for your source. For example, Website Testimonials or Offline Feedback. Then, click Create Source.
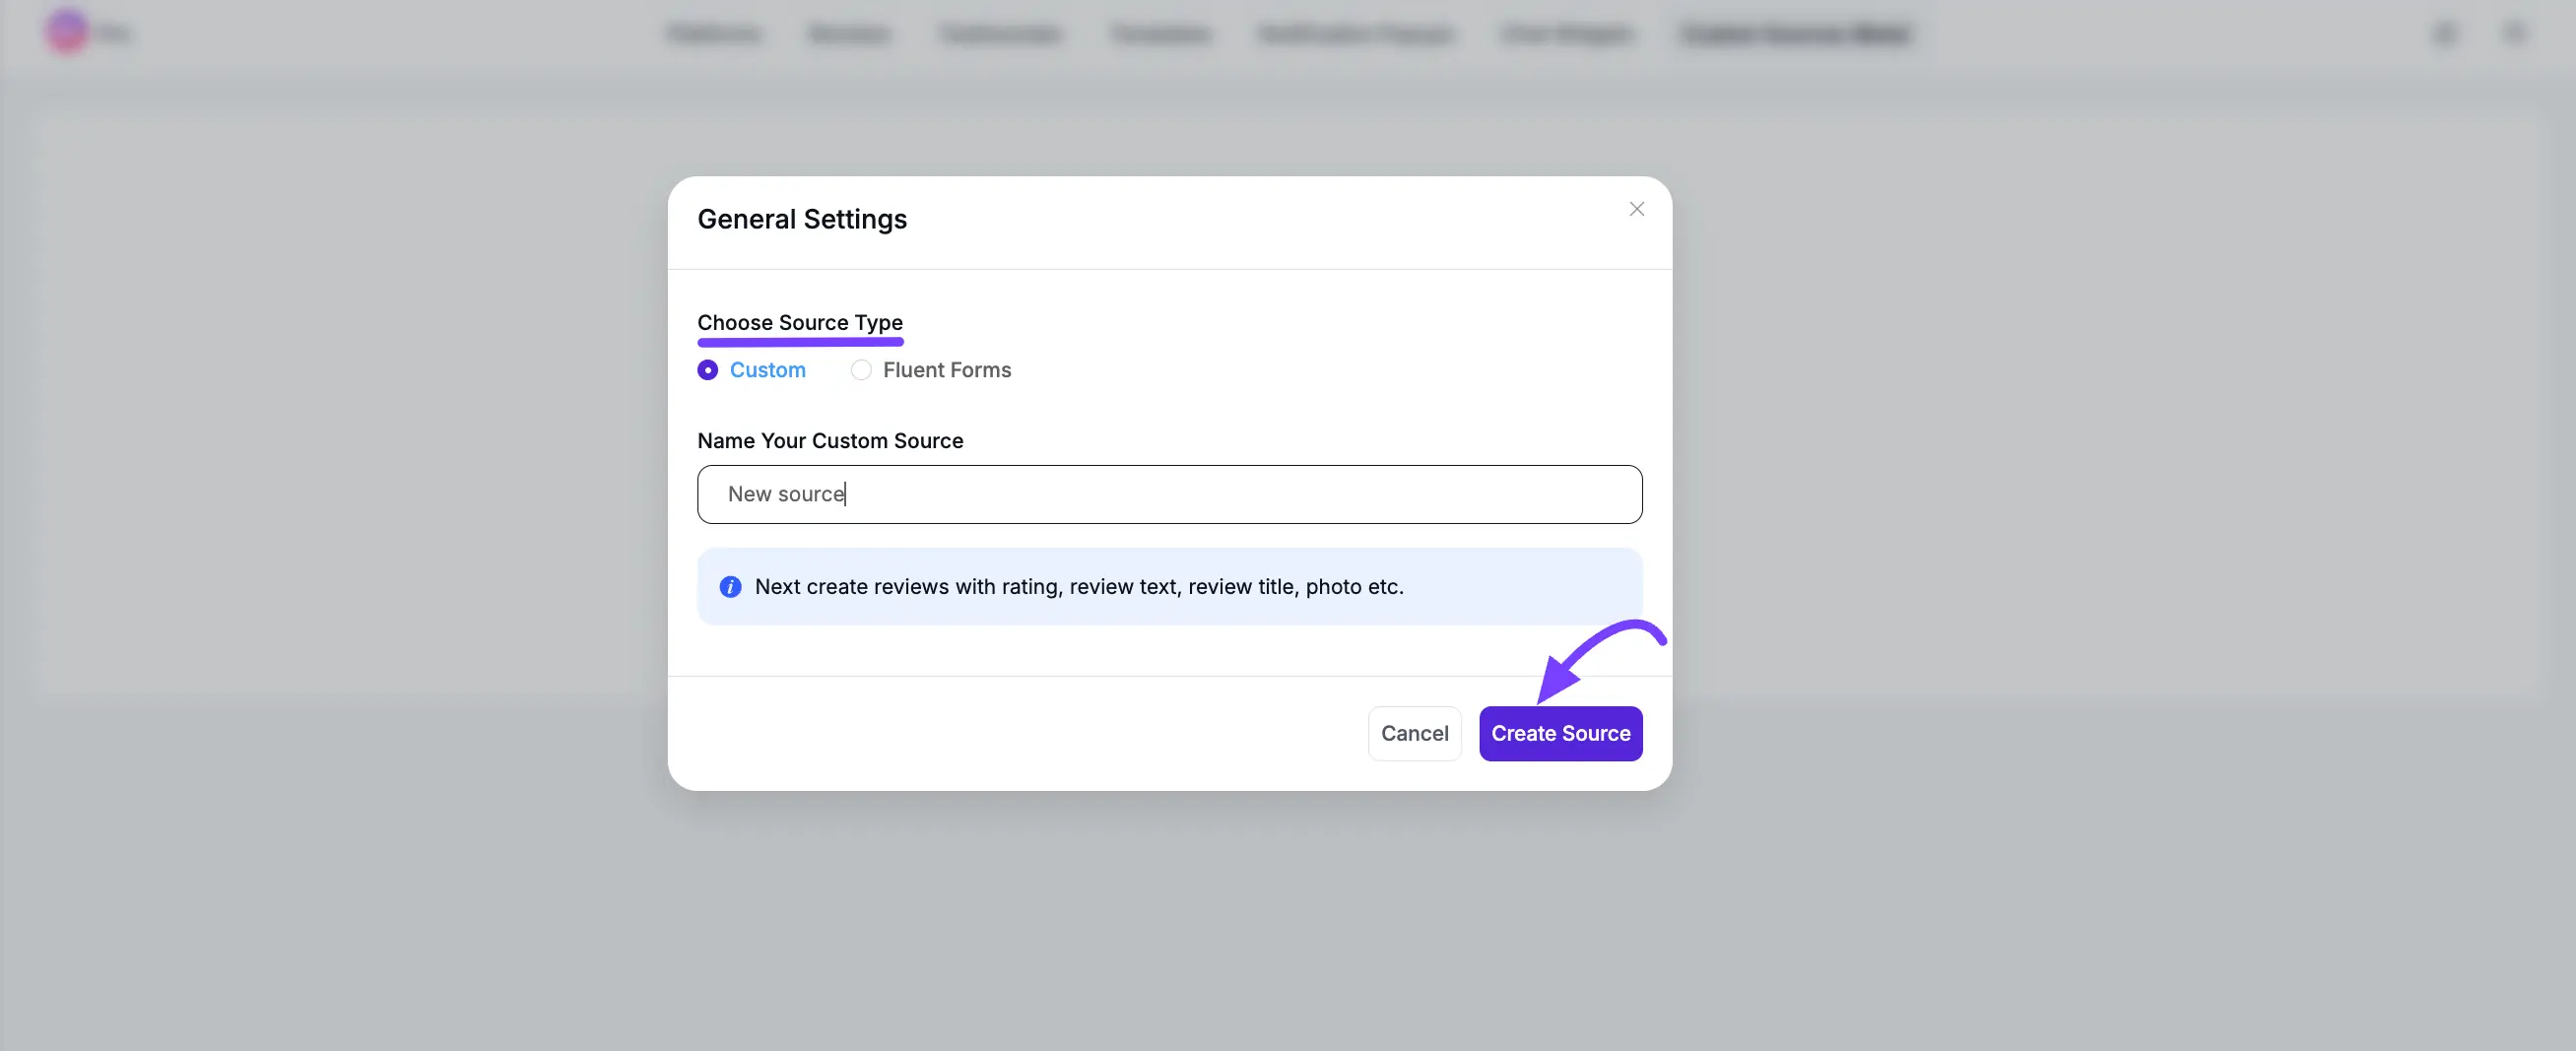
You’ll then be redirected to the dashboard of your newly created (and currently empty) custom source.
Step 2: Add Reviews to Your Source
You have two ways to add your existing reviews: manually (one by one) or by importing a file (in bulk).
Method A: Add Reviews Manually
This is great for adding reviews quickly.
Here you’ll see the source name on the left side. Now, on your source's dashboard, click the "+ Add Custom Review" button in the top-right corner.
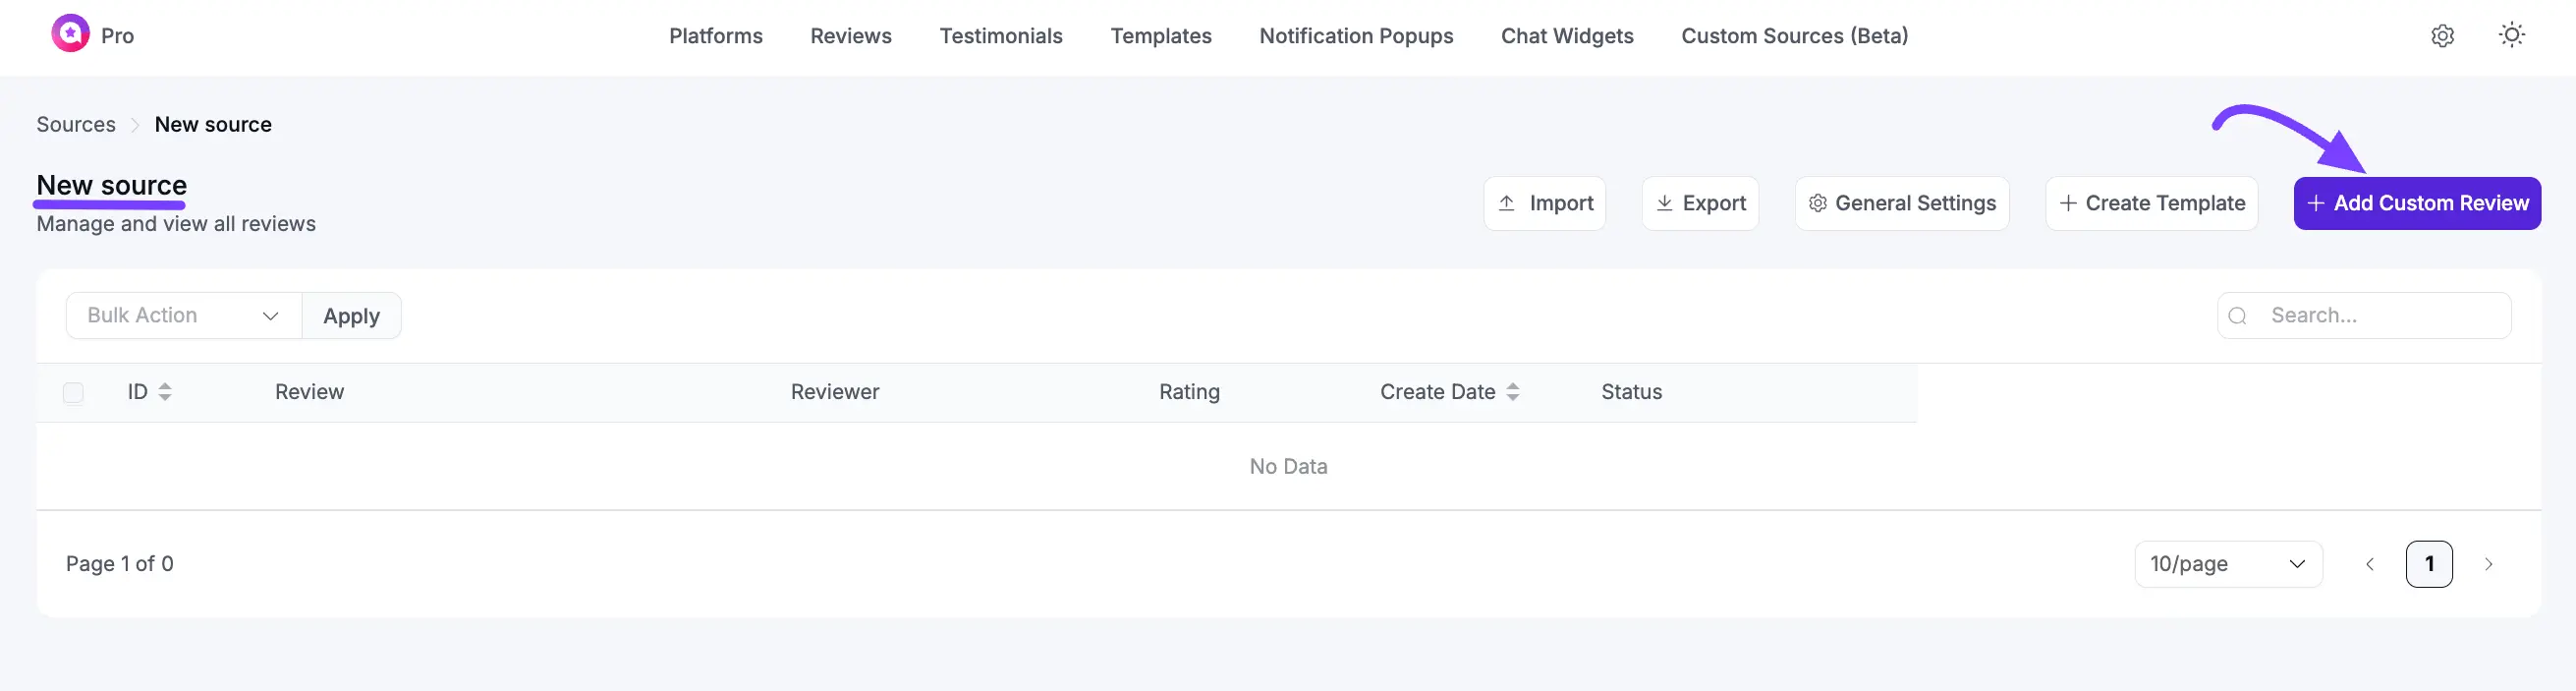
A detailed form will pop up. Fill in as much information as you can:
- Reviewer Name: The name of the person who left the review.
- Reviewer URL: A link to the reviewer's website or profile (optional).
- Reviewer Image: Upload a photo of the reviewer.
- Review Title: The headline of the review.
- Reviewer Text: The main content of the review.
- Review Date & Rating: The date and the 5-star rating.
After that, click the "Save" button. The review will now appear in your list.

Method B: Import Reviews from a CSV (in Bulk)
This is the fastest way to add hundreds of reviews at once.
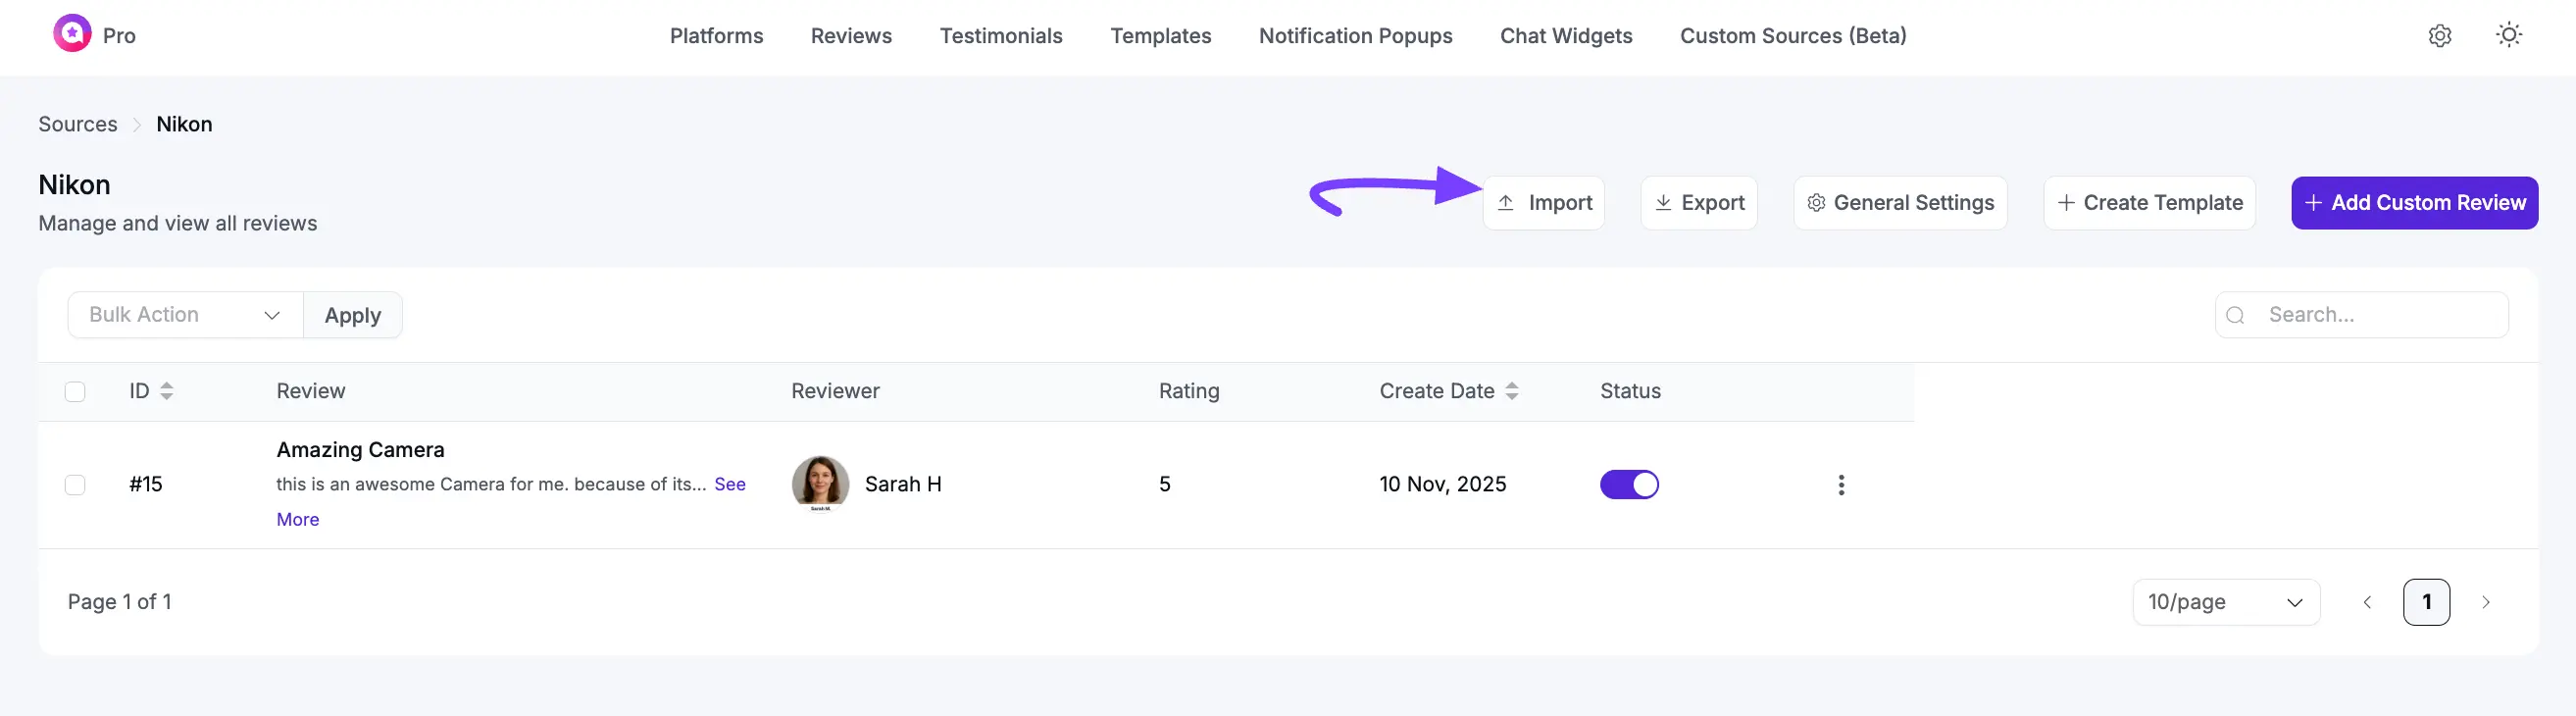
From your source's dashboard, click the "Import" button at the top of the page.
Now, under Select Import Type, choose "Custom Sources Reviews" from the dropdown menu.
Important: Click "Download Sample CSV" to get the correct template. This is a very important step to ensure your columns match.
Open the sample file and fill in your reviews, making sure to keep the column headers like reviewer_name, rating, and review_text.
Save your file, then upload it using the "Choose File" button. After that, click to the "Import" button. Your reviews will be added to your source. If you want to learn more about export/import, then read this documentation.

Step 3: Manage and Brand Your Source
Once you’ve added your reviews, you can easily manage and customize your source to match your brand.
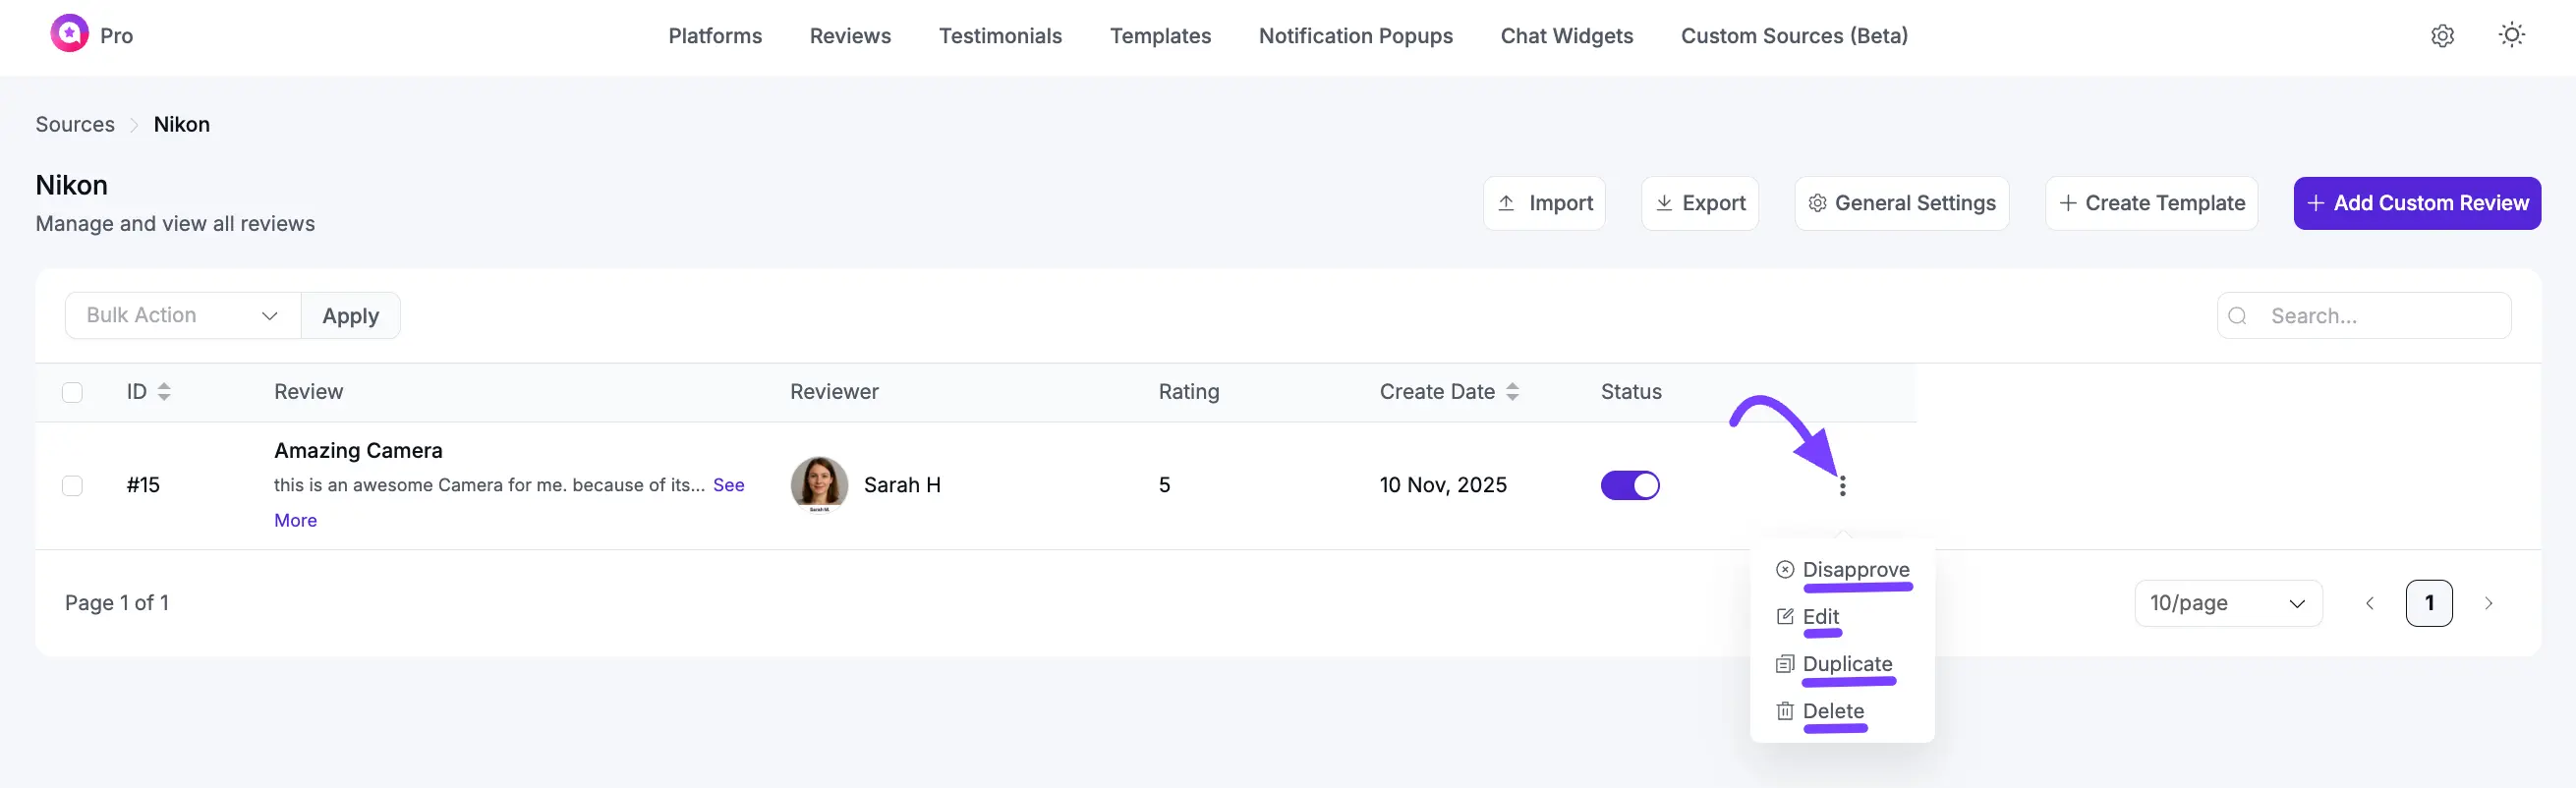
Manage Reviews
In your source dashboard, you’ll see all your added reviews. Use the Status toggle to approve or hide any review. You can also click the three-dot menu to Edit, Duplicate, or Delete a review.
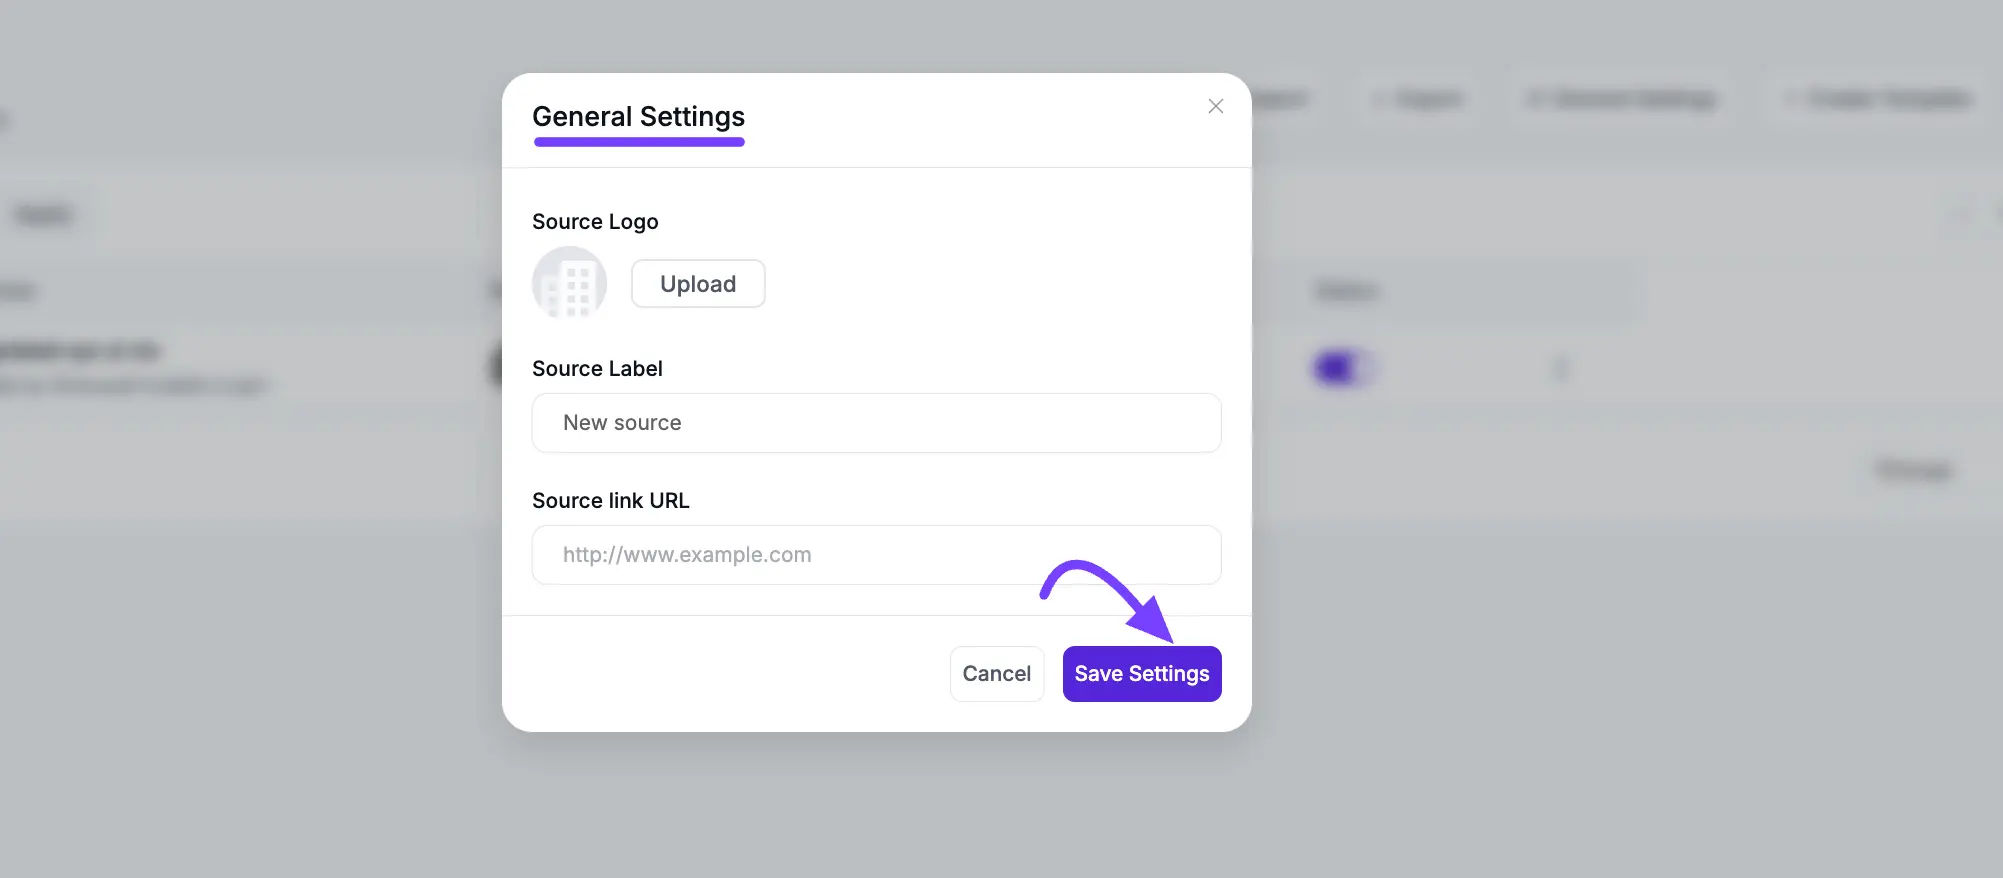
Brand Your Source
Click General Settings to open a pop-up where you can upload a Source Logo (like your business logo), update the Source Label, and add a Source Link URL. These details will appear in your review templates, helping you maintain a consistent and professional brand look. Once done, click Save Settings.
Step 4: Display Your Reviews on Your Website
Now that your custom source is ready, you can showcase those reviews anywhere on your site!
Go to WP Social Ninja → Templates and create a new Review Template (or edit an existing one). In the template editor, open General → Platforms. Find and select your newly created source (e.g., Website Testimonials).
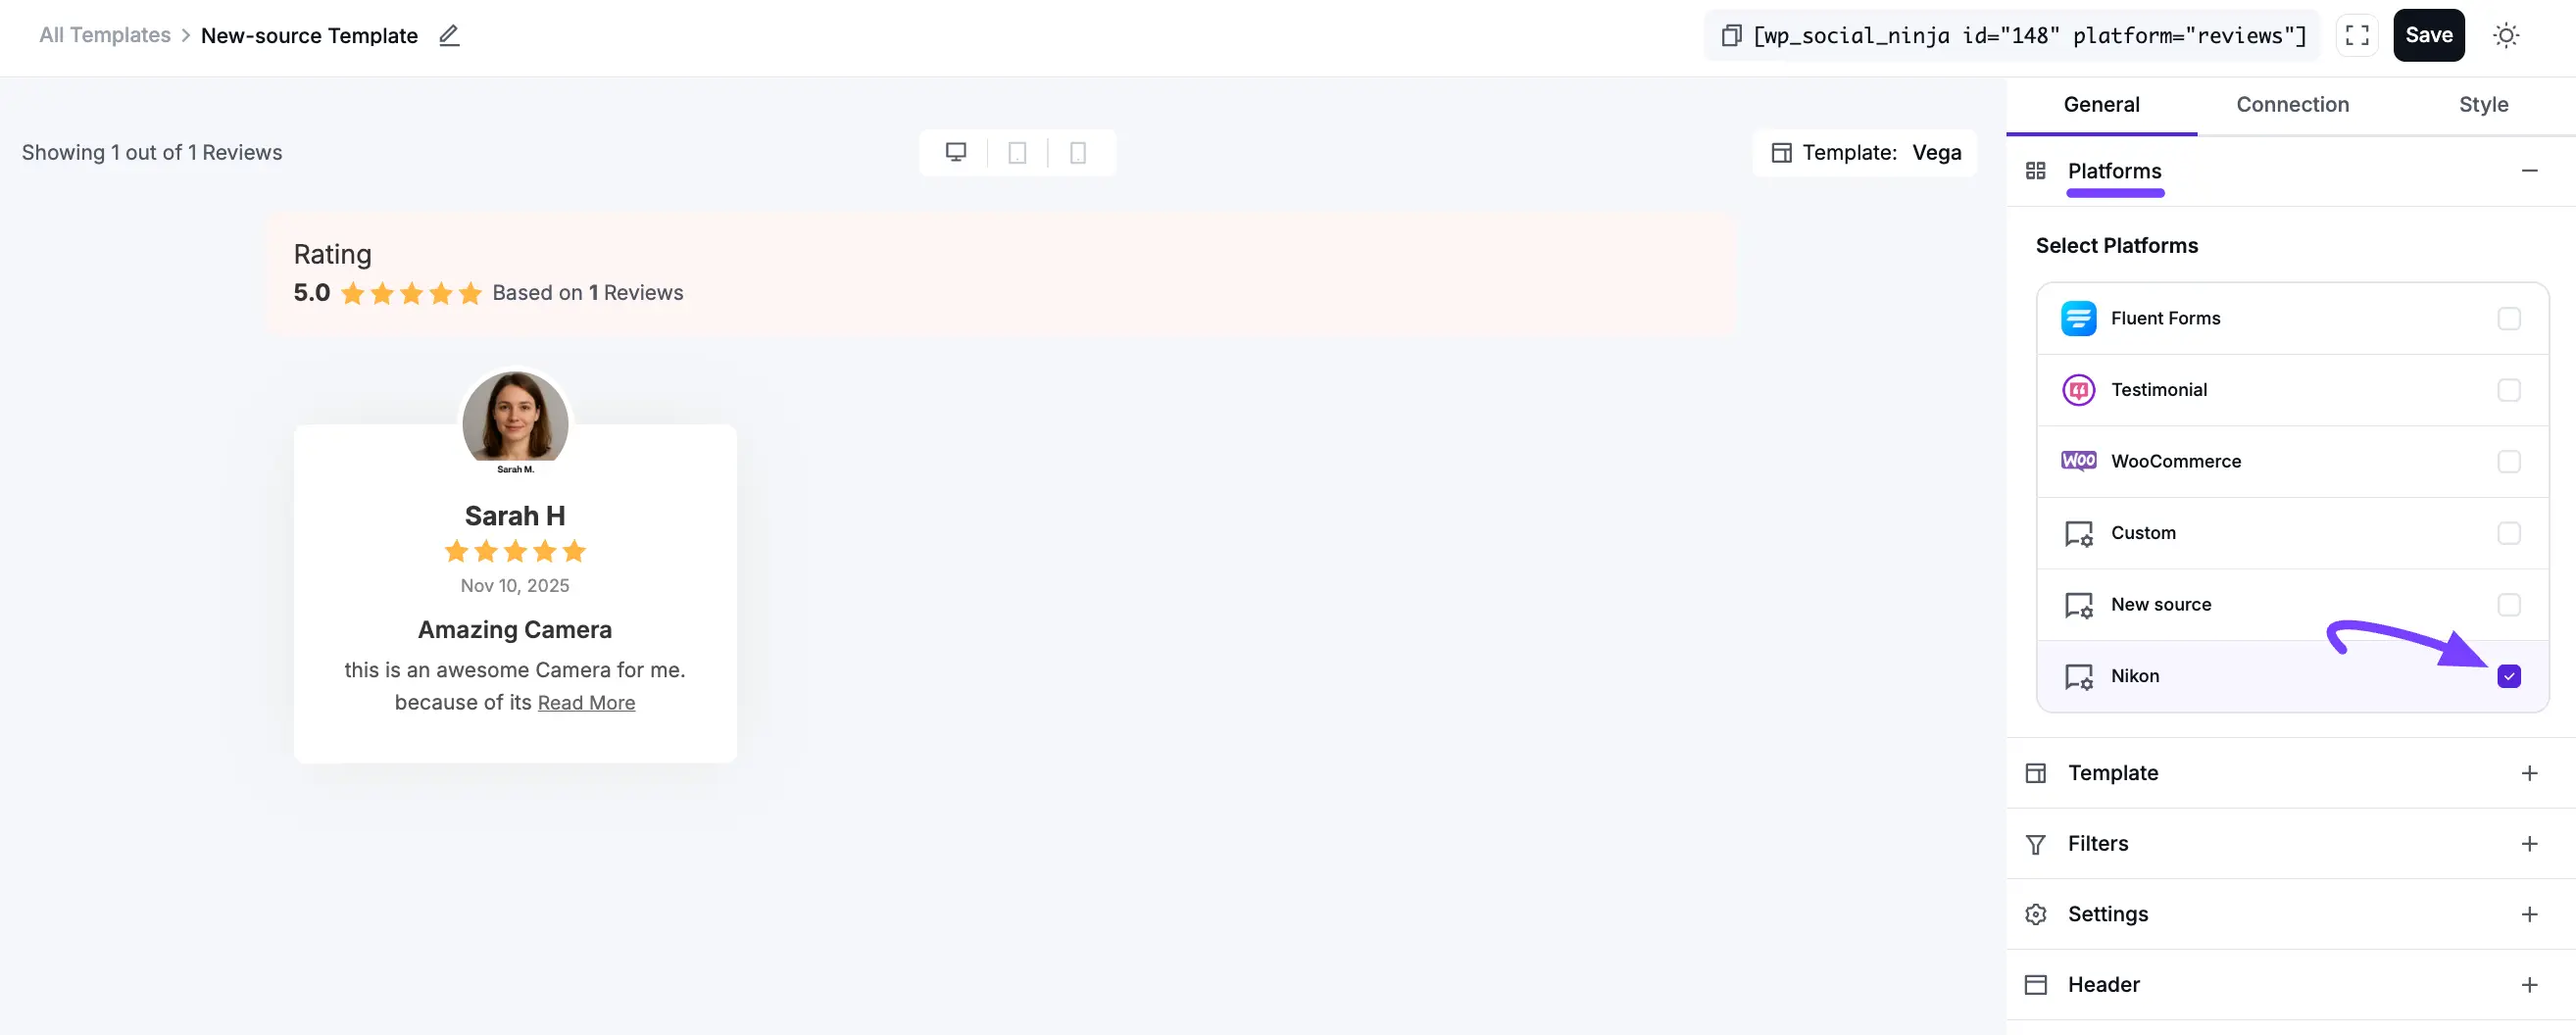
Now, you can customize the design under the Style tab to match your website’s look. Click Save Template when you're done.
NOTE
If you want to learn more about the template styling, then see the full detailed documentation.
Your template will generate a shortcode. Simply copy and paste it into any page, post, or widget area to display your custom reviews beautifully on your website!