Appearance
How to Install, Upgrade, and Activate a License
This guide will show you how to install the WP Social Ninja plugin on your WordPress website. It covers installing the free version, uploading the Pro version, and activating your license key to unlock all premium features and receive updates.
Requirements
Before you begin, please ensure your WordPress environment meets the following minimum requirements:
- WordPress Version: 5.6 or higher
- PHP Version: 7.1 or higher
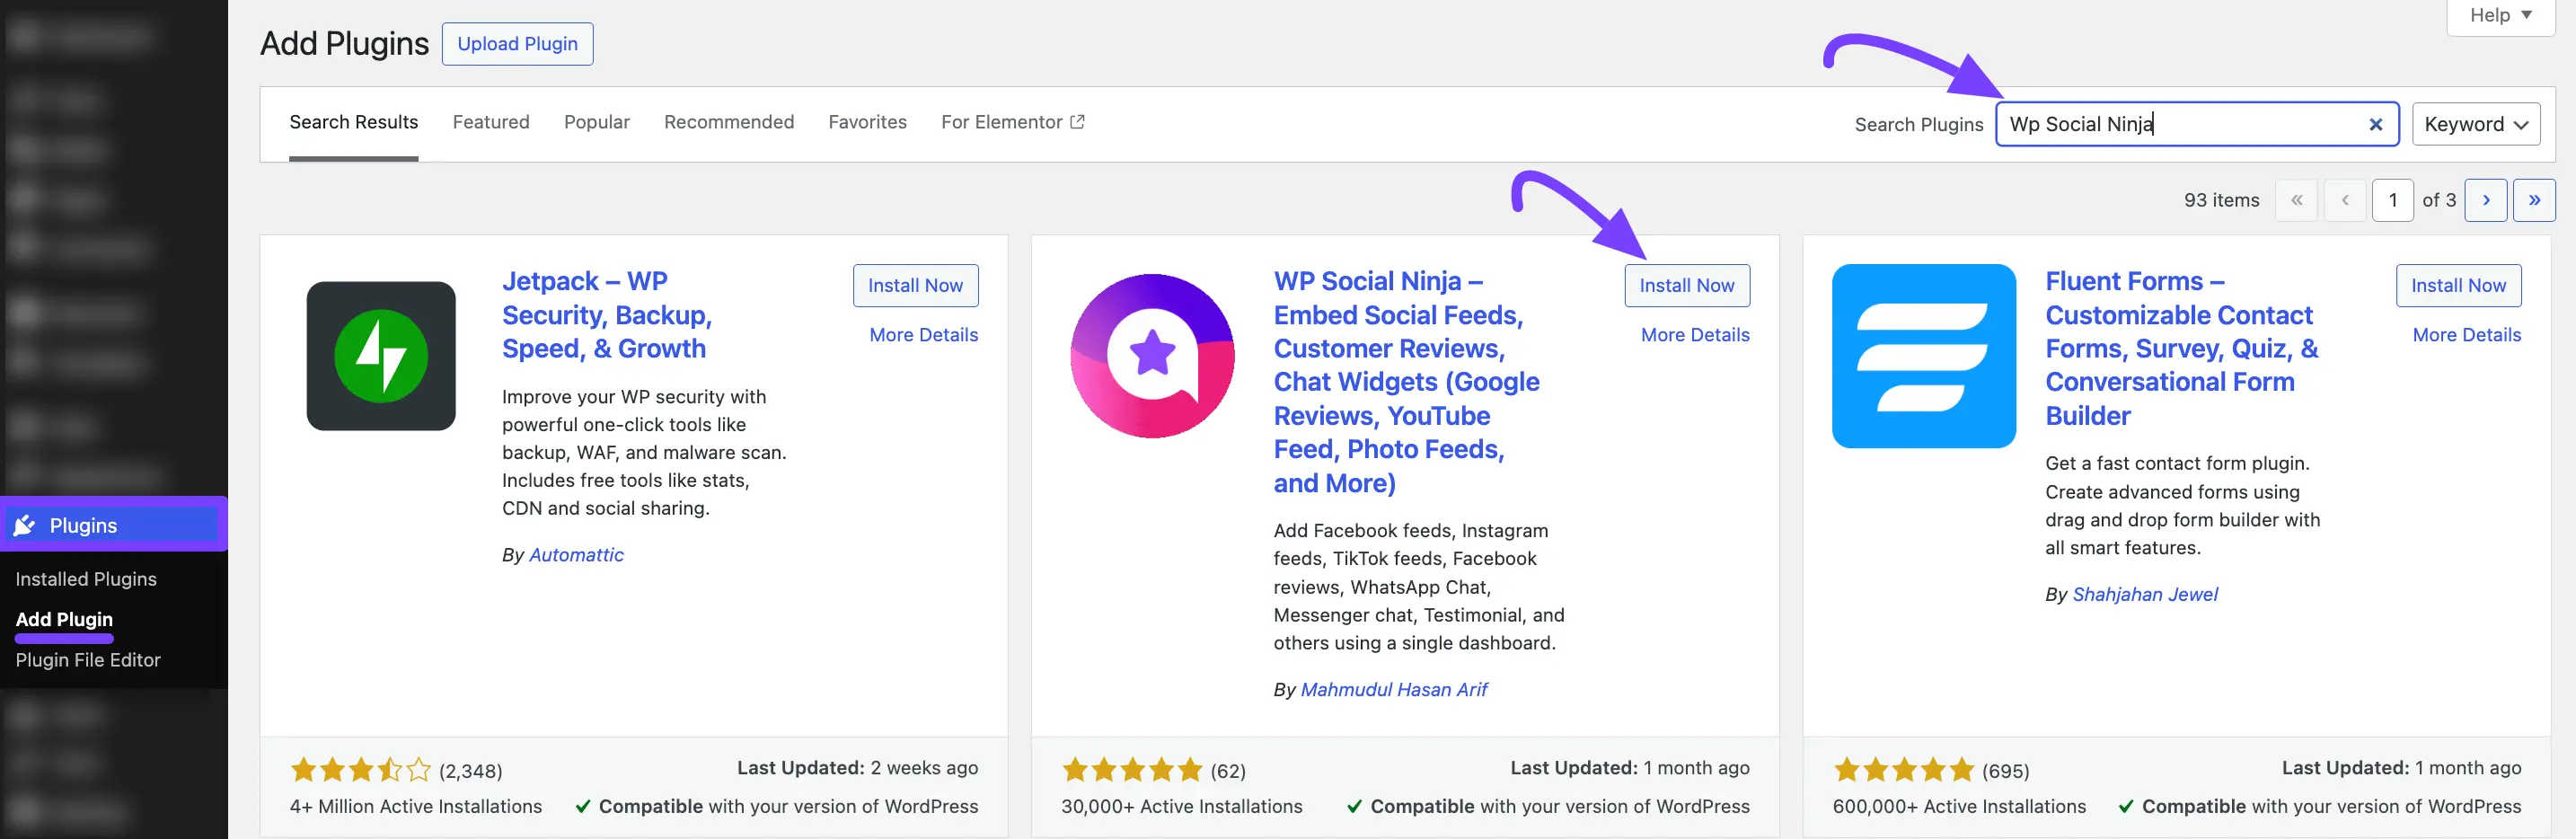
How to Install WP Social Ninja (Free)
You can install the free version directly from your WordPress dashboard.
- Step 1: Go to Plugins: From your WordPress dashboard, navigate to Plugins and click on Add New.
- Step 2: Search for a Plugin: In the search box in the top-right corner, type "WP Social Ninja".
- Step 3: Install and Activate: The plugin will appear in the search results. Click the Install Now button, and then click Activate.
How to Install WP Social Ninja Pro
After you purchase the Pro version, you must upload it to your website.
NOTE
You must have the free (core) version of WP Social Ninja (from the steps above) installed and activated before you install the Pro version.
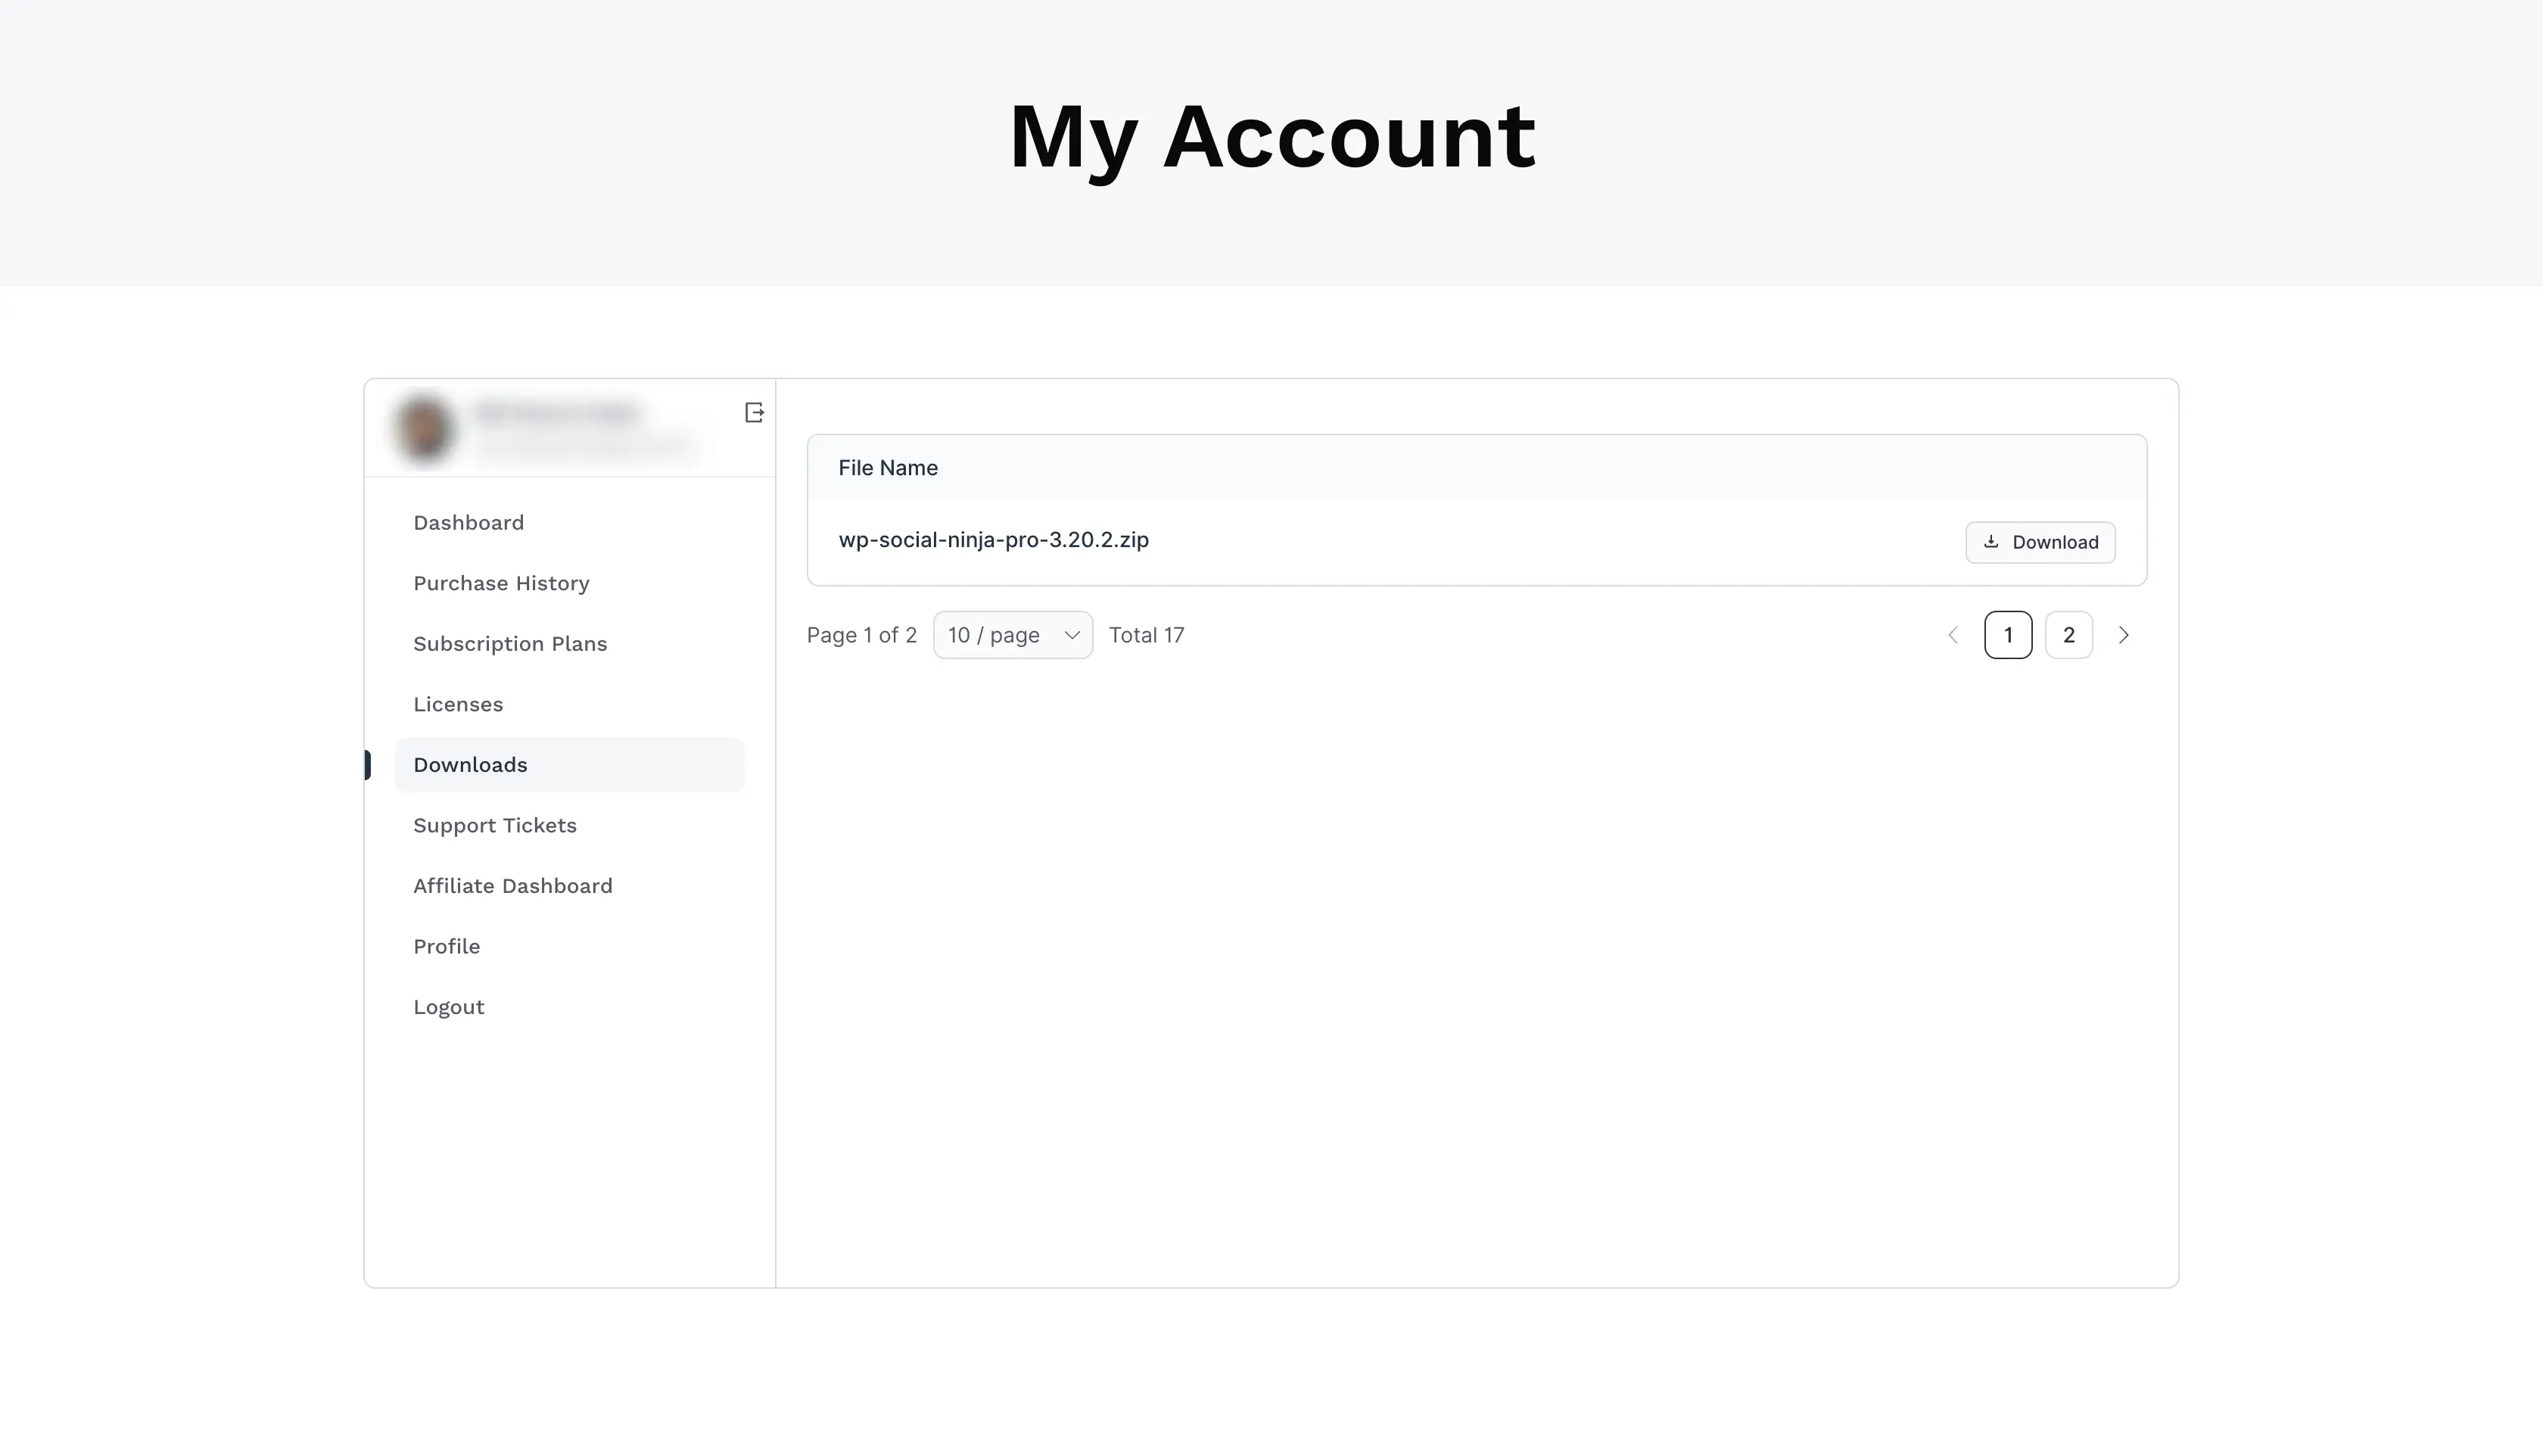
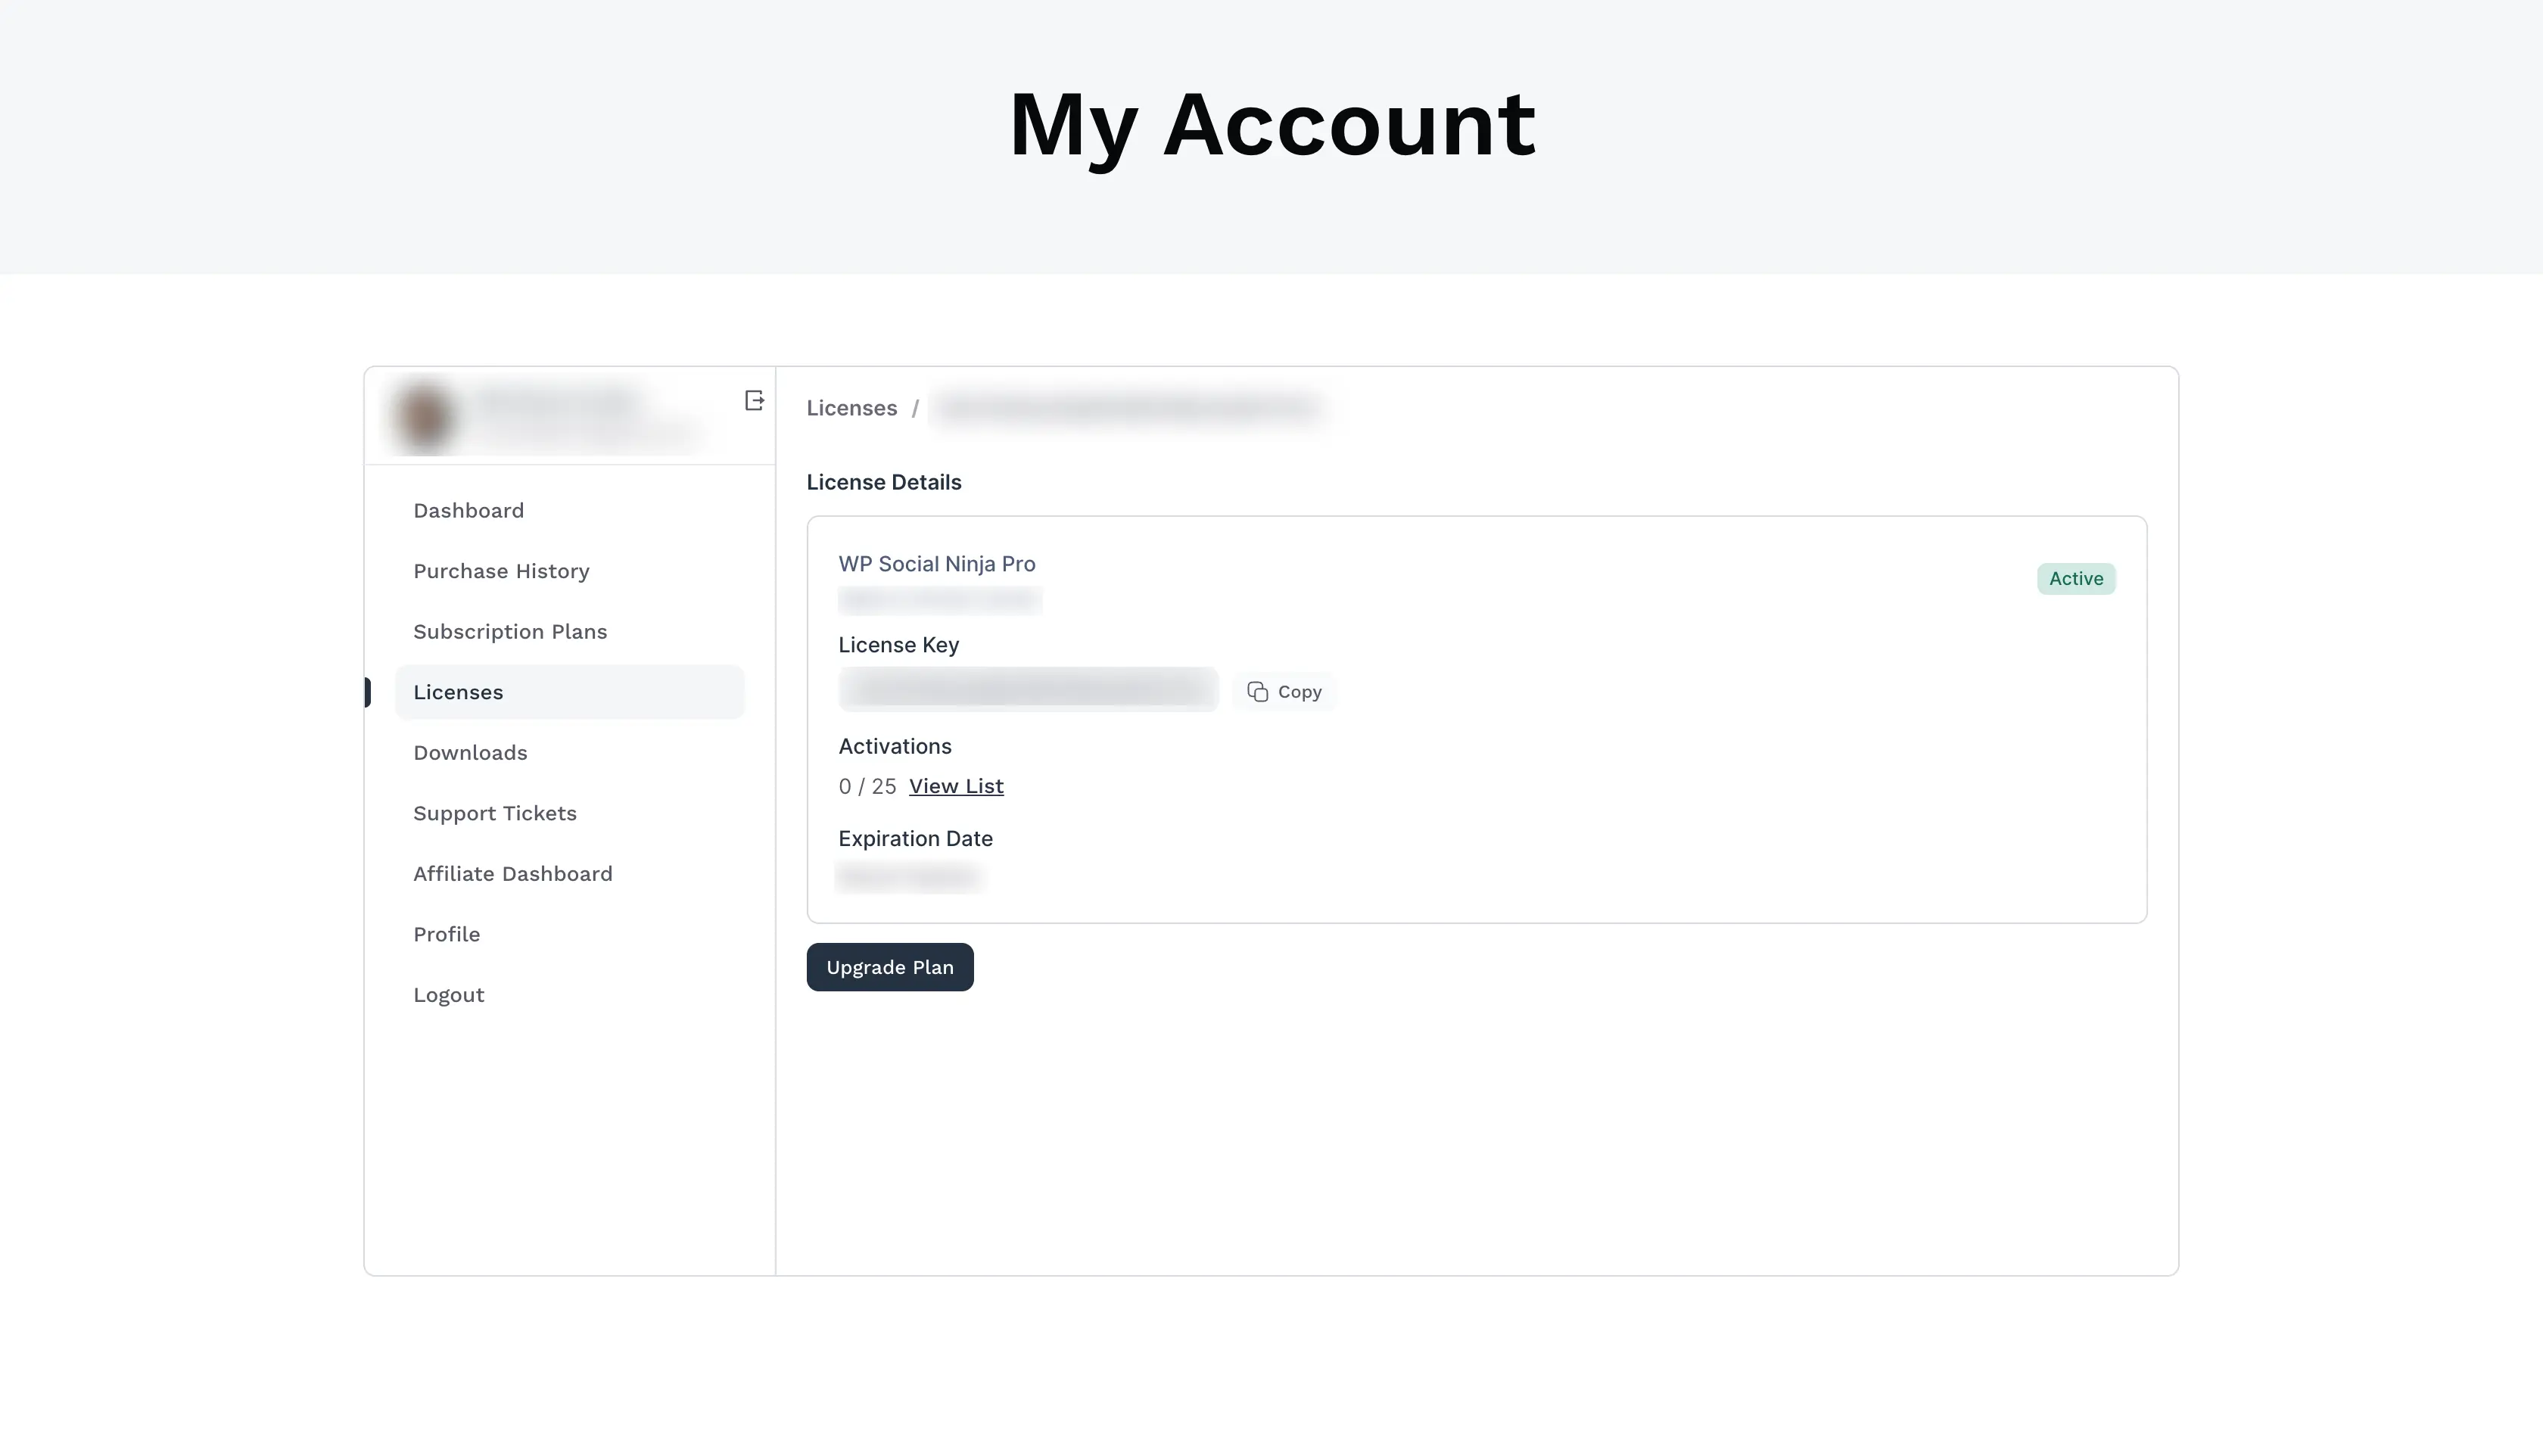
- Step 1: Download the Pro Plugin: Log in to your WPManageNinja Account and download the WP Social Ninja Pro
.zipfile from your purchase history.
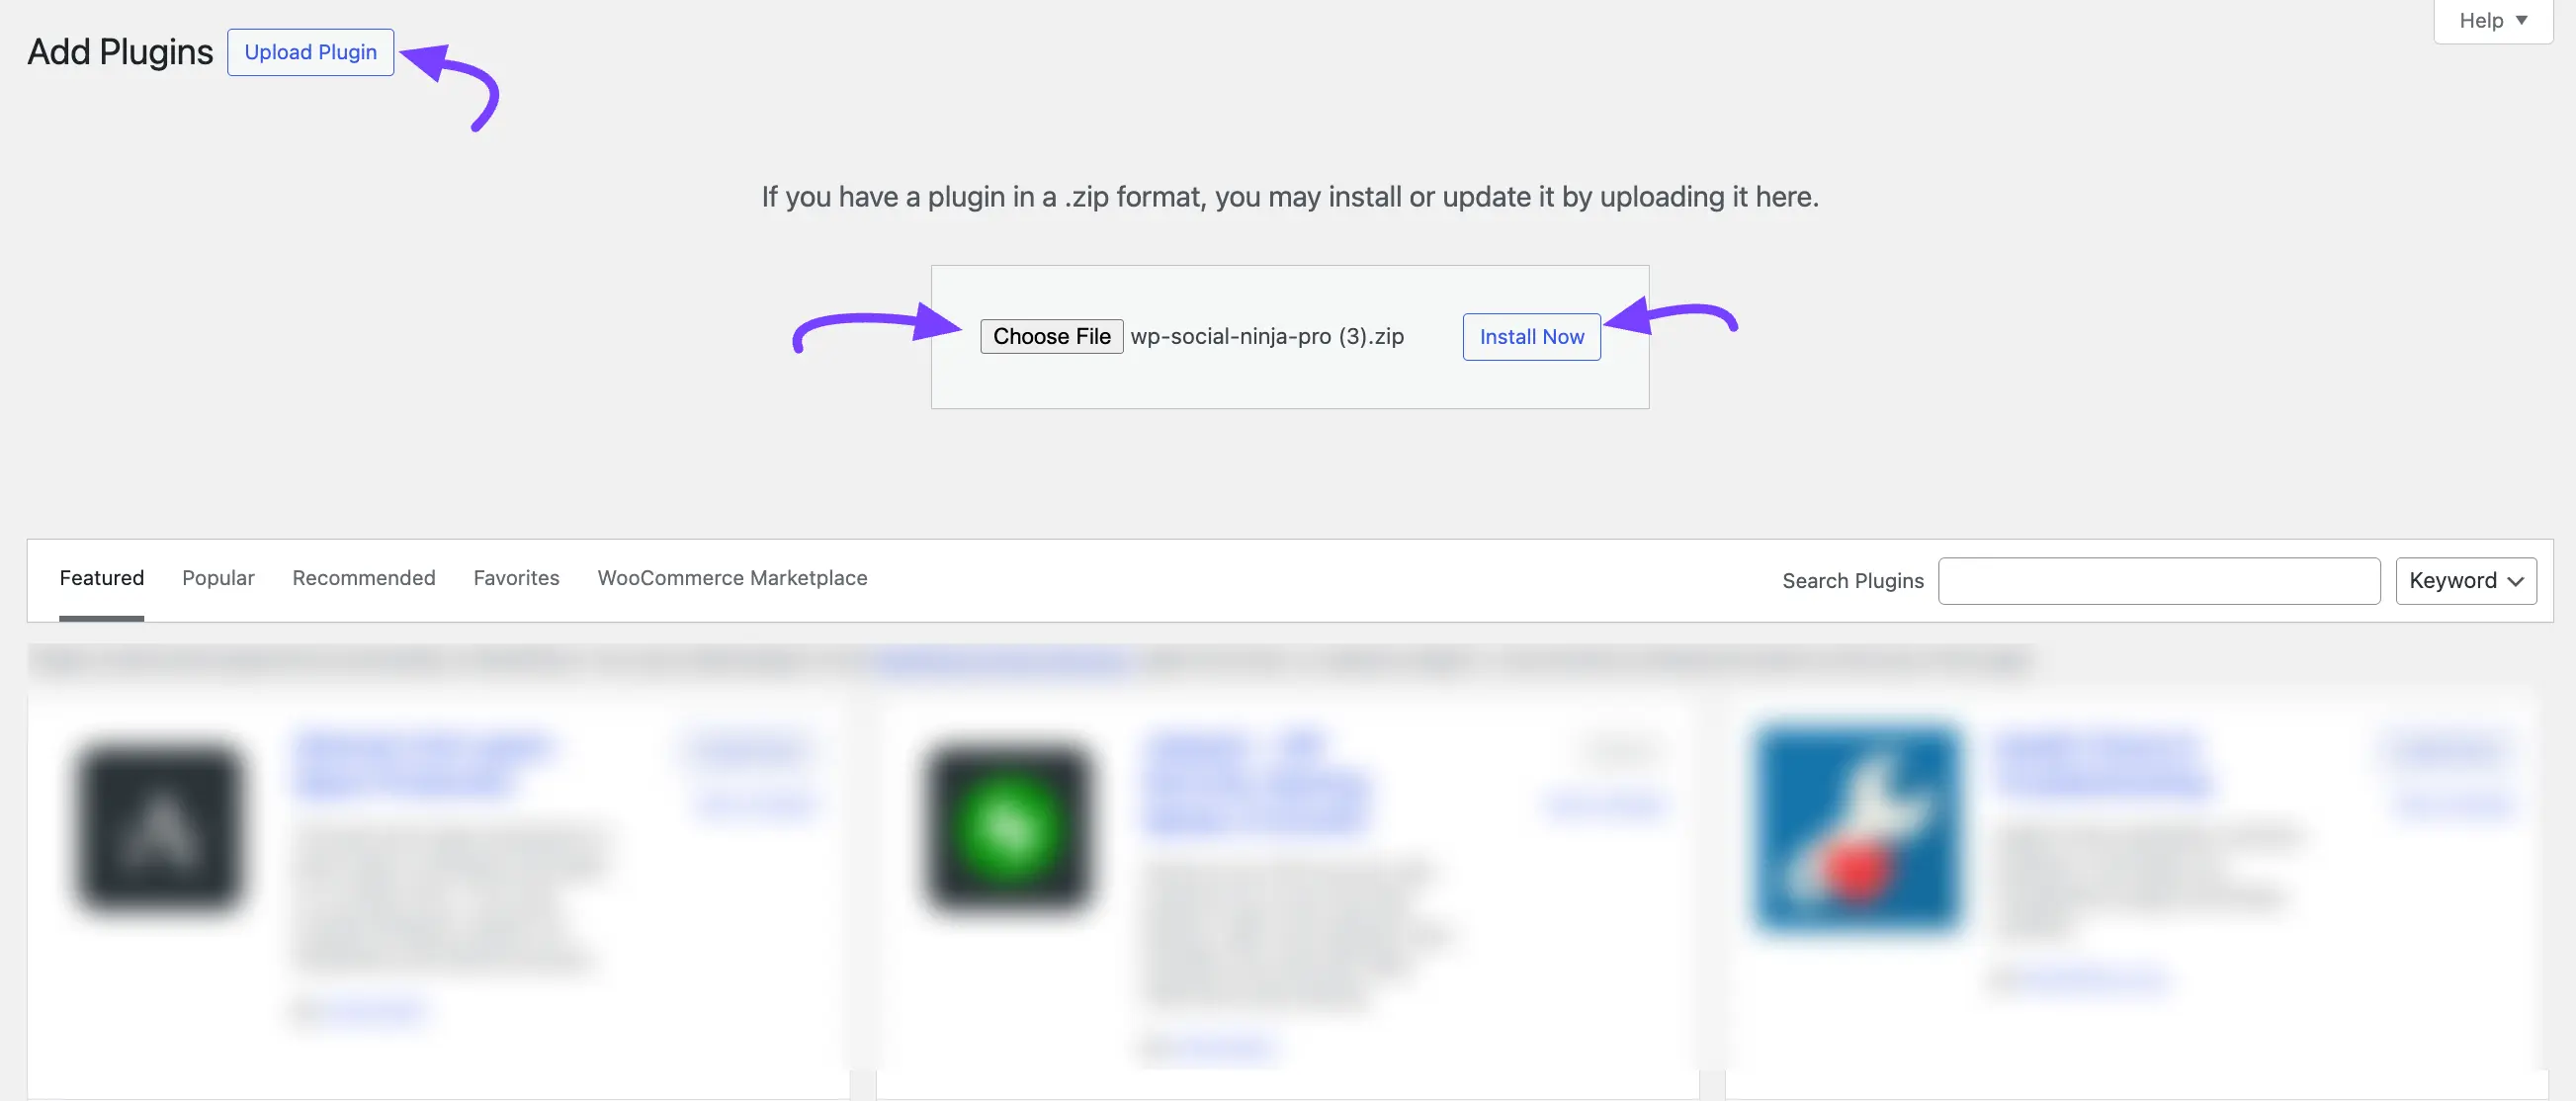
- Step 2: Upload Plugin: From your WordPress dashboard, go to Plugins > Add New. At the top of the page, click the Upload Plugin button.
- Step 3: Install and Activate: Click Choose File and select the
.zipfile you just downloaded. Click Install Now. After the plugin finishes installing, click the Activate Plugin button.
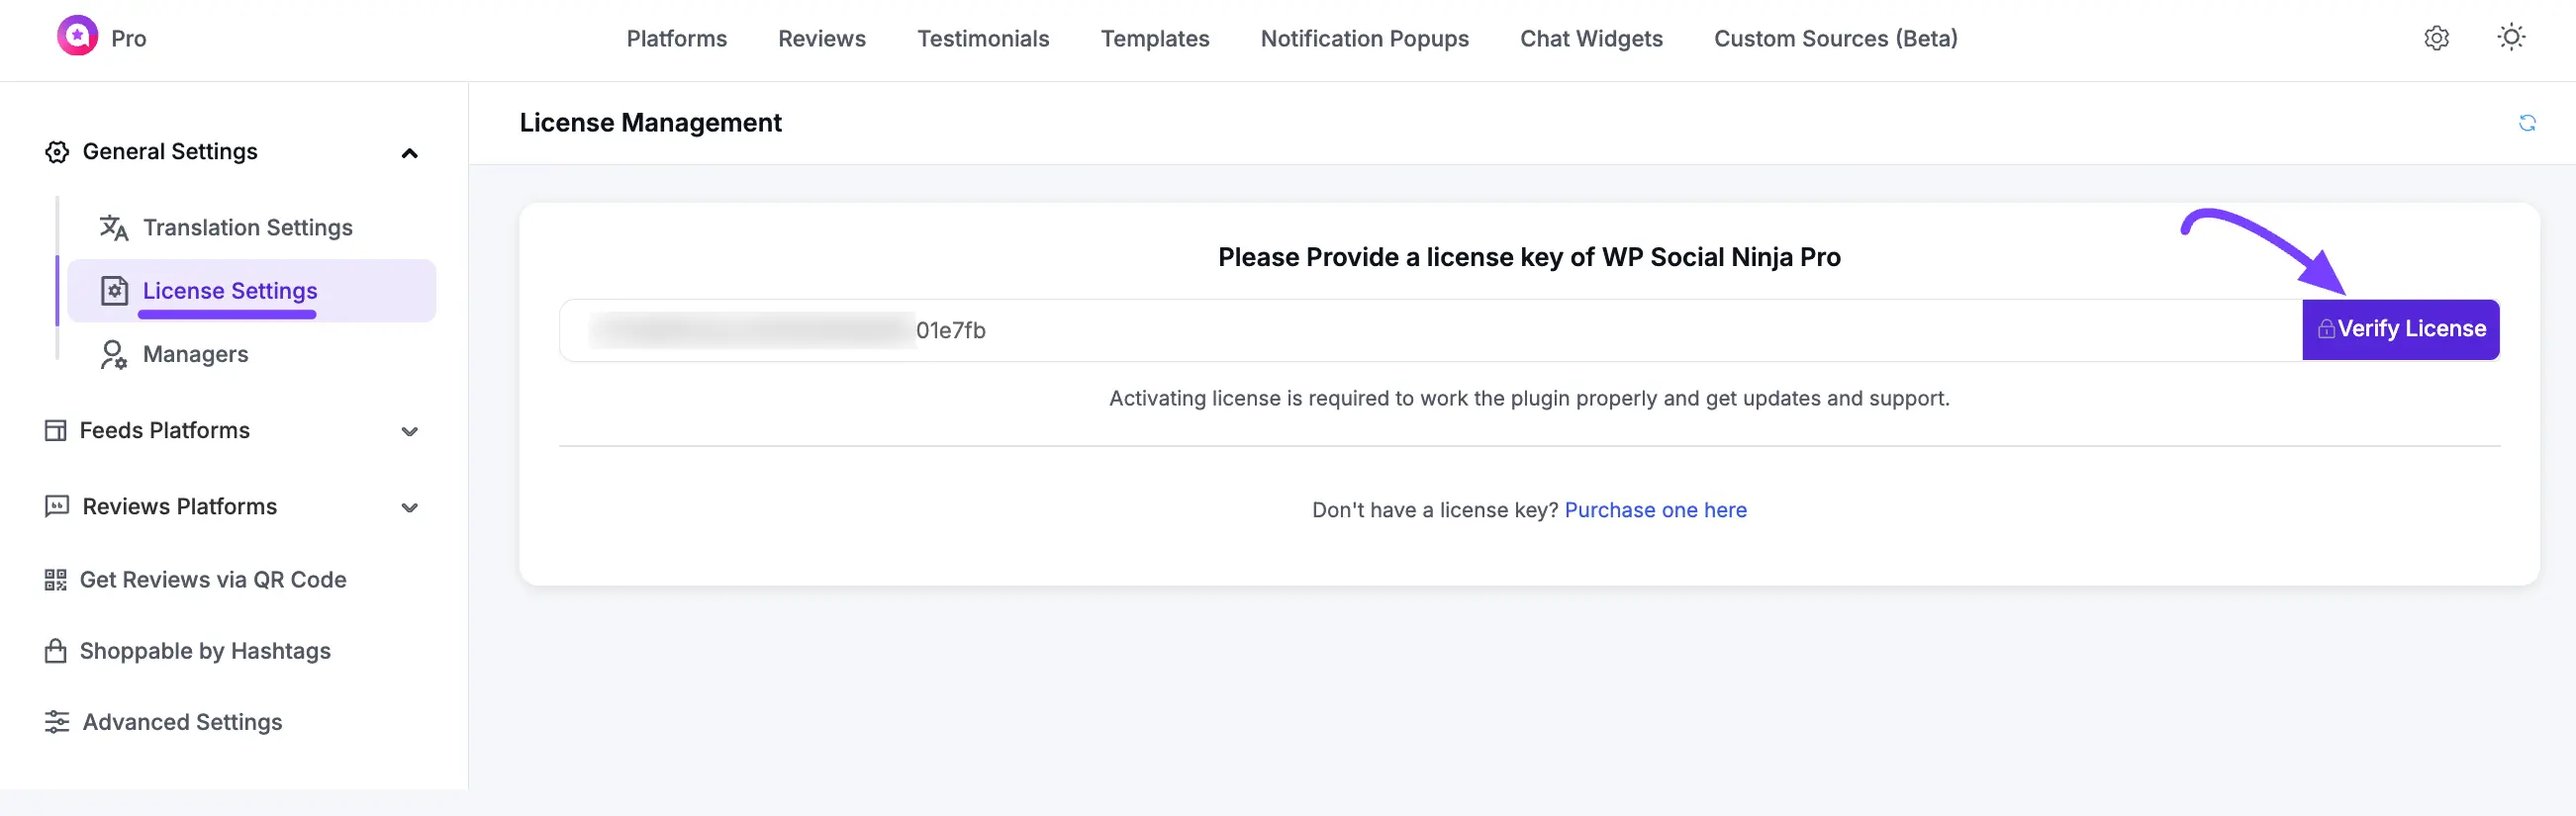
How to Activate the License
To unlock all pro features and receive automatic updates, you must activate your license key.
Step 1: Go to License Settings: From your WordPress dashboard, navigate to WP Social Ninja and click on Settings. Select the Others tab, and then click the License Settings sub-tab.
Step 2: Enter Your License Key: Find your license key in your WPManageNinja Account. Copy the key and paste it into the License Key field.
Step 3: Verify License: Click the Verify License button. If the key is valid, you will see a success message. Your Pro plugin is now active.
How to Update WP Social Ninja
You can update both the Free and Pro versions directly from your WordPress dashboard.
- Go to Dashboard > Updates.
- If an update is available, you will see it in the list.
- Select the WP Social Ninja plugins and click Update Plugins.
NOTE
To update the Pro version, you must have an active license key. If your license has expired, you can renew it here.
How to Renew the License
WP Social Ninja Pro comes with a licensing option to renew your license. Follow these simple steps to renew the license:
You can start by going to the purchase history from WPManageNinja Account. Then you’ll see the ‘Renewing a license key?’ link on the checkout cart, and click on that. After entering the license key, click the Apply License Renewal button.
Lastly, your license will be activated automatically. Your license key activation process is complete.
Enjoy WP Social Ninja!